XHLUX
A wall mounted linear light that sits unevenly off the wall can look like a finish defect—or it can be doing exactly what the mounting kit was designed to do. Before you force the housing, fill a shadow line with caulk or re-tighten screws, separate an intentional stand-off from a real installation fault.
This troubleshooting guide walks through that distinction, then the four common cause groups (wall, mounting hardware, electrical obstruction and fixture deformation), the matching corrections, a short pre-install checklist and a final verification list. For choosing direct-only versus direct-indirect linear optics—not gap diagnosis—see When Should You Choose Direct and Indirect Linear Lighting?.
For commercial LED linear light projects, the mounting components and fixture configuration should always match the approved product drawings and installation requirements—because a “flush look” is only correct when the product was designed for it.
TL;DR
- Compare the installed distance with the manufacturer drawing before calling the gap a defect.
- Diagnose wall, brackets/engagement, electrical clearance and fixture body as separate checks.
- Do not force a distorted housing or use improvised shims as a universal fix.
- Reorganize cables and incompatible boxes through qualified electrical work when needed.
- Prevent gaps with a pre-install checklist; verify alignment, security and cable condition after correction.
Table of Contents
- Is the Gap Between the Light and Wall Normal?
- What Causes a Wall-Mounted Linear Light to Sit Away from the Wall?
- How to Check Whether the Wall Surface Is Uneven
- How to Check the Mounting Brackets and Fixture Mounting Surface
- Can Wiring or a Junction Box Prevent the Light from Sitting Flush?
- How to Fix Gaps Between a Wall-Mounted Linear Light and the Wall
- How to Prevent Gaps During Wall-Mounted Linear Light Installation
- How to Verify a Wall-Mounted Linear Light After Adjustment
Is the Gap Between the Light and Wall Normal?
Some products leave a designed stand-off; others should sit closer—only the drawing decides which case you have.
Check Whether the Fixture Is Designed for Stand-Off Mounting
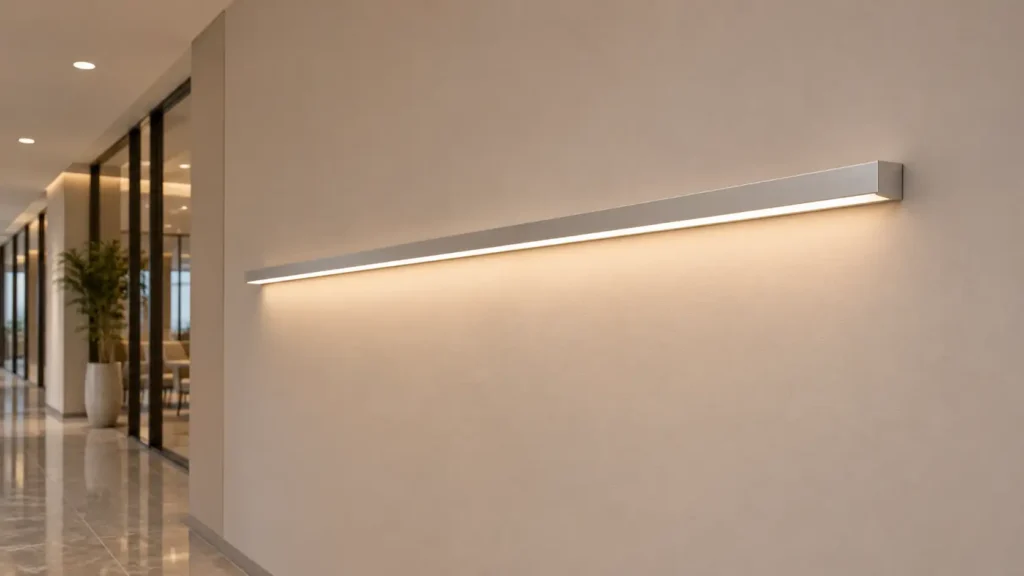
Some wall-mounted linear lights use rear channels, mounting brackets or spacers that create a defined distance between the fixture and the wall.
This may provide space for wiring or form part of the intended mounting design.
Check the manufacturer’s drawings to confirm whether the offset is intentional.
Request the section and installation sheet for the ordered model when those documents are not already on the job file.
That intentional offset is not the same as an unintended gap from misalignment or obstruction.
If the kit includes stand-off brackets or a rear raceway, treat the specified distance as design intent until proven otherwise.
Compare the Installed Gap with the Manufacturer’s Drawings
Open the product cross-section and installation dimensions for the exact model.
Use the official installation sheet for that SKU—not a look-alike product family.
Measure the actual distance between the fixture rear and the wall at several points along the run.
Note whether the gap is consistent end-to-end or opens only in spots.
There is no universal “acceptable millimetre” for every linear light—products and kits differ.
Record your measurements against the drawing before you move to fault diagnosis.
🎯 Should a wall-mounted linear light always sit directly against the wall?
No. Some fixtures use channels or brackets that create a defined stand-off. Check the manufacturer’s installation drawing before treating the gap as a defect.
What Causes a Wall-Mounted Linear Light to Sit Away from the Wall?
Four installation areas can stop a fixture from reaching its intended position—scan them as a map, then diagnose in the next chapters.
| Fault source | Possible symptoms |
|---|---|
| Wall Surface | Local gaps or uneven contact along the fixture |
| Mounting Hardware | Misalignment, tilted housing or incomplete fixture engagement |
| Electrical Installation | Junction box or cables obstructing the mounting position |
| Fixture Body | Permanent deformation of the fixture housing or rear mounting surface |
Use this table as a cause overview only.
Wall, mounting hardware, electrical installation and fixture body each get their own checks below.
Do not collapse all four into “the wall is uneven.”
Do not treat incomplete engagement as a fixture-body defect by default.
🎯 What should you check first when a wall-mounted linear light has a gap?
First establish whether the gap is intentional. Then check the wall surface, mounting hardware, electrical installation and fixture body.
How to Check Whether the Wall Surface Is Uneven
Confirm whether the mounting plane—not the fixture alone—is blocking flush contact.
Check the Wall with a Straightedge
Place a straightedge along the intended mounting line for the full fixture length.
Observe where the straightedge contacts the wall and where visible gaps appear between the tool and the surface.
Record both high-contact points and recessed areas along the mounting line.
Work in more than one height if the backplate is tall.
Visual “looks flat” checks often miss local bumps that only show under a long housing.
Identify Local High Spots and Recessed Areas
Inspect plaster joints, skim patches and repaired zones.
Check tile edges, panel seams and decorative cladding that can sit proud of the main plane.
Mark high spots that hold the fixture off the wall and recesses that leave a shadow gap even when ends look tight.
Separate a single local defect from an overall wavy plane—the repair path differs later.
Record high and recessed positions and compare them with the gaps you see behind the installed light. Do not invent a universal wall-flatness tolerance; follow project specifications and the fixture’s install notes.
🎯 Can a small uneven area cause a visible gap along a long linear light?
Yes. A local high spot or recessed area can change how a long fixture contacts the wall, especially when the mounting kit has limited adjustment.
How to Check the Mounting Brackets and Fixture Mounting Surface
Hardware alignment, incomplete engagement and housing deformation each leave different clues.
Check Whether All Mounting Points Are Aligned
Compare the height and spacing of every bracket or cleat against a shared reference line. Confirm fixing positions match the manufacturer’s installation drawing for that model—not a freehand layout. Misaligned mounting points can tilt the housing or leave one end proud even when the wall is fair.
Inspect Brackets, Cleats, Fixing Hardware and Fixture Engagement
Look for bent brackets, damaged cleats and loose fasteners. Confirm the fixture fully seats into its mounting channel or clips—incomplete fixture engagement is a distinct fault from a crooked wall. Where the design uses a lock or latch, verify it has fully engaged.
Check whether the supplied brackets and mounting clips match the fixture model. Confirm that all mounting components are installed in their intended positions. Check whether any incorrectly positioned component prevents the fixture from engaging fully.
Check Whether the Fixture Backplate Is Straight
Inspect the rear mounting surface (plate, channel face or housing rear, as designed for that product). Compare the centre with both ends. Look for bends, twists or uneven contact pads from shipping or forced install. Separate fixture mounting-surface deformation from wall irregularities: a bent rear face will not follow a flat wall even after plaster repair.
Identify Uneven Pressure from Mounting Screws
Check whether over-tightened screws have pulled a bracket or plate out of plane. Look for dish-out or crack lines around fixings. Do not try to close a gap by cranking fasteners harder—that can worsen deformation. Follow the fastening method and any torque guidance named on the manufacturer’s installation sheet for that SKU; do not invent torque values here.
Use the install drawing and a straightedge on brackets and the rear mounting surface before you reinstall. Fix or replace damaged hardware first.
🎯 Can incorrectly installed mounting brackets prevent a linear light from sitting flush?
Yes. Misaligned or distorted brackets can change the mounting position and stop the fixture from engaging correctly.
Can Wiring or a Junction Box Prevent the Light from Sitting Flush?
Electrical hardware can physically block the mounting plane even when the wall and brackets look correct.
Check Whether the Junction Box Projects Beyond the Mounting Plane
Compare the box and cover plate to the intended rear plane of the fixture. If the box sits proud, it can stop the backplate from reaching the wall or channel. Check available depth against the product’s mounting design. An incompatible box arrangement is an electrical-layout problem, not a reason to bend the housing.
Check for Trapped or Poorly Routed Cables
Inspect for excess cable loops behind the housing. Look for connectors jammed against brackets. Identify cable interference—conductors trapped between fixture and wall that hold the run off the plane. Use any supplied cable clips, glands or management parts as specified; do not leave free coils in the contact zone.
Check the Cable Entry and Mounting Space
Match the cable entry location to the product drawing. Confirm the connection cavity is large enough for the terminations in use. Trace the routing path before you lock the fixture down. Cable placement must not block engagement or fastening points.
Inspect mounting space and cable path against the manufacturer’s installation instructions for that model—box depth, entry location and clearance are product-specific. Isolate power and have a qualified electrician perform corrective wiring work under applicable local rules.
🎯 Can an electrical box cause a wall-mounted linear light to protrude from the wall?
Yes. A projecting junction box or poorly positioned connections can obstruct the mounting plate and stop the fixture from reaching its intended position.
How to Fix Gaps Between a Wall-Mounted Linear Light and the Wall
Match the correction to the cause you confirmed—do not treat shims, caulk or harder screw pressure as universal fixes.
Correct Uneven Wall Surfaces Before Reinstalling
Mark the high or recessed areas you recorded.
Decide whether plaster, skim, tile edges or panel work must be corrected.
Restore a suitable mounting plane for the fixture length.
Recheck with a straightedge before hanging the light again.
Reposition or Replace Misaligned Mounting Brackets
Where the product design allows, move brackets to the drawing dimensions.
Before relocating a bracket, confirm that the new fixing points can support the fixture and suit the wall construction.
Use the specified anchors and fastening method.
Replace bent or damaged brackets, cleats and fasteners.
Re-verify every fixing point against the install sheet.
Confirm the fixture can fully engage the channel or clips after the hardware change.
Address mounting bracket misalignment and incomplete engagement here—not with wall filler.
Reorganize Cables and Correct Junction Box Interference
Clear cable loops from the mounting path.
Seat connectors inside the designated connection space.
Correct incompatible box positions through qualified electrical work.
Confirm nothing remains trapped behind the housing before final fastening.
Use Shims Only When the Fixture Design Allows Them
Compatible shims or manufacturer spacers may compensate for a localized irregularity when the install sheet allows them.
Improvised cardboard, wood scraps or random washers are not approved mounting systems.
Shims must not reduce mechanical support, violate electrical clearance or compromise required IP sealing.
Follow the manufacturer’s rules for that kit.
Replace a Distorted Fixture or Backplate When Necessary
If the housing or backplate shows permanent deformation, decide whether a mounting part or the complete fixture must be replaced.
Contact the manufacturer when damage may relate to shipping or production.
Do not force a distorted fixture into place.
After correction, recheck alignment, engagement, mechanical stability and electrical condition against the original install requirements.
🎯 Can you use shims to fix a gap behind a wall-mounted linear light?
Only when the mounting design and manufacturer instructions allow them. Improvised spacers may compromise support, clearance or protective requirements.
How to Prevent Gaps During Wall-Mounted Linear Light Installation
A short pre-install checklist catches most gap causes before you drill for a wall mounted linear light.
Pre-installation checklist
- Wall condition: Check the mounting surface along the full fixture length with a straightedge.
- Mounting layout: Verify bracket positions and fixing dimensions against the product drawing.
- Electrical clearance: Confirm the junction box and cable entry arrangement fit the fixture design.
- Fixture condition: Inspect housing, backplate and mounting accessories for visible damage or deformation.
- Installation components: Confirm supplied brackets, clips and fasteners are complete and the correct SKU.
Do not repeat the full diagnostic chapters here—use this list before drilling or securing hardware.
🎯 What should installers check before mounting a wall-mounted linear light?
Check the wall surface, mounting-point positions, electrical connection space and fixture condition before drilling or securing the mounting hardware.
How to Verify a Wall-Mounted Linear Light After Adjustment
Confirm the gap is gone for the right reasons—and that you did not create a new fault.
Final installation checklist
- Fixture alignment: Check the housing along its full length for unintended gaps or twisting.
- Mounting security: Confirm brackets, fixing points and locking parts are correctly secured and fully engaged.
- Electrical condition: Check that cables are not trapped or damaged and connections were completed properly.
- Product protection: Confirm covers, end caps and any specified sealing parts are correctly installed.
- Installation records: Photograph the finished install and note approved adjustments or replaced components.
This list verifies the result; it does not replace the correction steps in the fix chapter.
🎯 How do you know whether a wall-mounted linear light has been properly reinstalled?
The fixture should be correctly aligned, securely supported, free from unintended mounting gaps and compliant with its electrical and product-protection requirements.
Conclusion: How do you close an unintended mounting gap?
A wall mounted linear light installs cleanly when the offset matches the drawing—or when the real fault is fixed. Start by asking whether the gap is designed. If not, separate wall irregularities, bracket misalignment, incomplete engagement, cable or box interference and fixture deformation—then apply the matching correction. Prevent the next gap with a pre-install check, and verify alignment, security and cable condition before you leave the job.
If you need help matching linear mounting kits or OEM/ODM housing details to a project drawing, see our custom lighting solutions or contact the XHLUX team.
Explore our related blog posts: