XHLUX
XHLUX
LED linear suspension is a long luminaire hung on cables or stems so the line sits in the room volume. It is not a dining chandelier bar and it is not a recessed slot.
Use this page when the mount path is already suspended. You still need to freeze drop length, power feed, joiners and mounting height before anyone places the order.
For the P5 mount map—suspend, surface or recess—start with How to Choose Linear LED Lighting: Suspended, Surface, or Recessed?. This page stays on the suspension hardware checklist after that path is chosen.
If office versus lobby scene notes are still open, use the modern linear suspension guide for offices and lobbies first. Come back here for the order checklist.
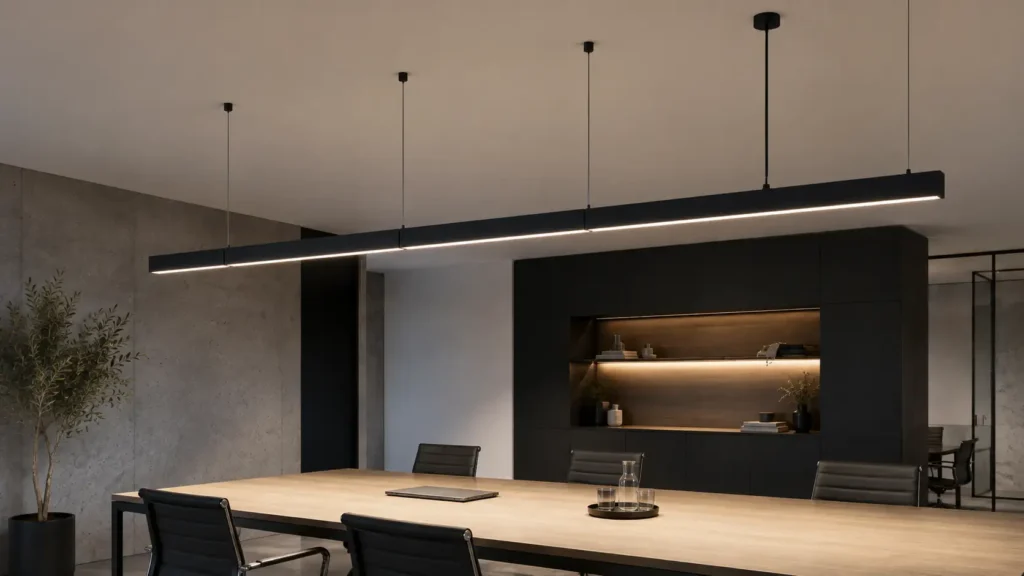
TL;DR: Write drop length, feed path, joiner type and underside height on the submittal. Do not buy from a housing photo alone.
1. Confirm the suspension path before you open the catalogue
This checklist assumes suspend already won over surface and recess.
Typical fit:
- Open structure where the line should read in the volume
- Desk or aisle rows that need access from below
- Tall spaces where a flush channel would fight the architecture
Poor fit for this page:
- Suspend versus recess still undecided—settle that interface first
- A layout that must keep moving on a magnetic rail—that is a different product family
- A brief that only names wattage and finish with no cable or feed notes
| Still open? | Do this first |
|---|---|
| Suspend vs recess vs surface | Mount map on the live P5 overview linked above |
| Office row vs lobby volume | Office/lobby suspension guide linked above |
| How low is optically safe | Live drop-height guide (linked in §5) |
| Cable, feed, joiners, height for the PO | Stay on this page |
🎯 When is this checklist the right page?
After the ceiling path is suspended—and before you freeze module lengths and finish chips.
2. Lock suspension cable drop length on the drawing
Suspension cable drop length is the approved distance from the fixing plane to the luminaire—not a catalogue “adjustable to 2 m” claim alone.
Write these notes:
- Ceiling fixing plane versus finished underside of the housing
- Field adjustment range and whether cables are cut or locked after trim
- Same drop across a continuous run unless the section calls for a step
- Clearance past doors, mezzanines, AV screens and art walls
Long runs show sag and zigzag when drops differ by a few millimetres. Call out tolerance on the schedule, not only on a detail balloon.
If the optical question is really “how low is too low,” use the live how-low-is-too-low drop-height guide. This section only freezes the cable length you will buy and hang.
🎯 What must the drop note include?
Fixing plane, underside height, adjustment range and run tolerance—not only a max cable length from the brochure.
3. Separate the linear pendant power feed from the hang cables
A linear pendant power feed is the electrical path into the run. Decorative suspensions are not automatically the feed.
Check on the submittal:
- Which canopy or stem carries power versus which cables are mechanical only
- Feed location relative to driver (in-housing, canopy or remote)
- Continuous-row feed points and mid-run breaks for control zones
- Cord colour, strain relief and service loop for maintenance
Mixing a power cord into every hang point makes a messy ceiling. Mixing “no feed shown” into a long row makes a dead run on site.
Name feed points on the RCP the way you name sprinkler heads—countable and reviewable.
🎯 Can every suspension cable carry power?
No. Write which points feed and which only hang, then match the maker’s canopy and driver notes.
4. Specify suspended linear light joiners as a system part
Suspended linear light joiners keep mechanical, electrical and optical continuity between modules. A butt joint that “looks close” is not a joiner.
Require on the BOM:
- Joiner part number for that housing family
- Mechanical lock and alignment method
- Electrical through-wiring or feed break at the joint
- Diffuser and luminous-gap treatment at the seam
- End caps and corner pieces if the run turns
Dry-fit a joined sample before you freeze module counts. Light leaks and height steps at joins show up after the ceiling is crowded.
Continuous appearance is not continuous control. If a joint also splits a dimming zone, say so on the schedule.
🎯 What makes a joiner real on the PO?
A named part for that housing—not a field splice hoped to disappear under the diffuser.
5. Freeze linear suspension mounting height as an underside level
Linear suspension mounting height is the approved underside level above finished floor (or above the task plane you named). It is not “whatever the cable allows.”
Set it with:
- Task plane or floor reference on the section
- Seated and standing sightlines along the full run length
- Clearance to doors, escalators and circulation
- Indirect-light gap to the ceiling when uplight is specified
- Maintenance reach for drivers and joiners
Copying one height from a product sheet into every room is how offices and lobbies both fail. Approve height per typical section, then buy cable kits that can hit those numbers.
For optical and glare depth beyond this order checklist, stay with the live drop-height guide already linked above.
🎯 Is mounting height the same as cable length?
No. Mounting height is the finished underside level; cable length is only the hardware that reaches that approved level.
6. Sign a joined mock-up before the purchase order
Use this order on one typical bay:
- Confirm suspension path is still correct for that ceiling
- Hang the longest specified module at the approved underside height
- Install the real feed canopy and at least one mechanical-only hang point
- Join two modules with the nominated joiner and diffuser
- Check level, luminous gap and feed access
- Record drop, feed, joiner and height on the approved submittal
Order production lengths only after that sample is signed.
| Check | Pass if |
|---|---|
| Drop | Cable length hits the underside level within tolerance |
| Feed | Power path matches the RCP feed points |
| Joiners | Named joiners align mechanically and optically |
| Height | Underside level clears people and glare checks |
🎯 When is the suspension ready to order?
After drop, feed, joiner and height notes are signed on a joined sample—not after the finish chip alone.
What to weigh first before the PO
The chart below ranks checklist weight—not product scores.
What to do next
Write drop, feed, joiner and height on one typical section. Sign a joined sample, then release the purchase order.
For project linear LED suspension runs, XHLUX can review cable kits, feed canopies, joiners and underside heights before production.
Notes & Sources
- CIE 117-1995, Discomfort glare in interior lighting — used when underside height and sightlines are checked on occupied runs (plain-text citation; no outbound link).
- CIE 232:2019, Discomfort caused by glare from luminaires with a non-uniform source luminance — used with CIE 117 for long luminous lines (plain-text citation; no outbound link).
- Project Serper PAA for
led linear suspension(2026-07-08) — both PAA rows skipped (chandelier fashion; #519 FAQ collision); secondaries had 0 PAA rows; faq_items: []. - Project-specific electrical, structural, fire and accessibility rules remain applicable. Confirm local requirements before installation.