![Comment réparer un spot LED encastré : Guide de dépannage [2025]](https://xhlux.com/wp-content/uploads/2024/05/news.webp)
Table des matières
- Before You Touch Anything: A Critical Safety Warning
- The First Question: What Type of LED Downlight Do You Have?
- Part 1: Troubleshooting a Replaceable Bulb (GU10) Downlight
- Part 2: How to Repair an Integrated LED Downlight (The Professional Approach)
- Why Repair When You Can Upgrade?
- A Diagnostic Approach to a Modern Problem
- FAQ About How To Repair LED Downlight
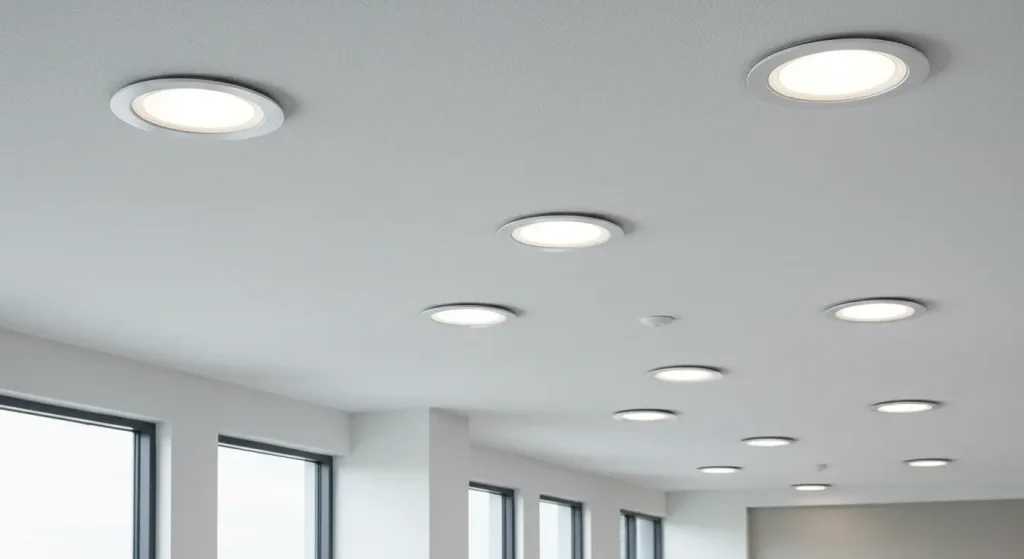
LED downlights are the champions of modern lighting—durable, incredibly efficient, and designed to provide maintenance-free light for years, even decades. So when one suddenly starts to flicker, dims to a whisper, or dies completely, it can be particularly frustrating.
Your first instinct might be to ask, “How do I repair my LED downlight?” While that’s the right question, the answer in the world of modern electronics is a bit more complex than just tightening a wire or changing a simple part. “Repairing” an Downlight LED is almost always a process of diagnosing and replacing a specific failed component.
This is your expert troubleshooting guide. We will walk you through a professional diagnostic process to help you identify the problem. We’ll differentiate between the two main types of LED downlights and provide clear, actionable solutions for each.
Before You Touch Anything: A Critical Safety Warning
UNSKIPPABLE SAFETY NOTICE:
This guide involves troubleshooting electrical fixtures. Working with electricity is dangerous. Before attempting any inspection or work on a light fixture, you MUST turn off the power at the main circuit breaker panel. If you are not 100% confident in your ability to do this safely, or if the solution involves handling mains voltage wiring, you MUST hire a qualified and licensed electrician. Your safety is paramount.
The First Question: What Type of LED Downlight Do You Have?
The path to a solution starts here. The repair process is completely different depending on your type of fixture.
- Type A: Replaceable Bulb System (e.g., a GU10 Downlight)
- How to Identify: Look up into the fixture. You will see a distinct, separate bulb with its own face, held in place by a thin wire retaining clip. You can physically remove and replace this bulb.
- Type B: Integrated LED Fixture
- How to Identify: The light source is a seamless, flat, or built-in part of the fixture. There is no visible bulb to change and no retaining clip. The entire unit looks like a single, sealed piece.
Once you’ve identified your type, proceed to the correct troubleshooting section below.
Part 1: Troubleshooting a Replaceable Bulb (GU10) Downlight
If you have a Type A system, the diagnostic process is simple and logical.
Step 1: The Obvious Fix – Test a New Bulb
Nine times out of ten, the problem is simply that the LED bulb has reached the end of its life.
- Action: Following all safety precautions (power off!), carefully remove the existing GU10 bulb. Insert a new, working GU10 bulb that you know is functional.
- Result: Restore power and test the light. If it works, you’ve solved the problem. If it still doesn’t work, the issue lies deeper in the fixture. Proceed to the next step.
Step 2: A Visual Inspection of the Socket
- Action: With the power still off, look inside the fixture at the GU10 socket. Check for any obvious signs of damage, such as scorching, cracked ceramic, or bent contact points.
- Result: If the socket looks visibly damaged, it will need to be replaced. This is a job for an electrician, as it involves rewiring the lampholder.
Step 3: Suspecting the Fixture Wiring
If you’ve tested a new bulb and the socket appears fine, the issue could be a loose connection in the wiring to that specific fixture.
- Action: At this point, the problem is beyond a simple fix. The solution requires accessing the fixture’s junction box in the ceiling to check the connections.
- Result: This is unequivocally a job for a qualified electrician.
Part 2: How to Repair an Integrated LED Downlight (The Professional Approach)
If you have a Type B integrated fixture, troubleshooting is more complex because you can’t just swap a bulb. “Repair” here means identifying which major component has failed: the pilote LED or the LED chip/module itself.
The Reality of “Repair”: Component Replacement
It is not practical or possible for a homeowner to repair an LED chip or the circuitry on a driver. The process is one of replacement.
The Most Common Culprit: The LED Driver
Le pilote LED is the fixture’s power supply. It’s a small box, usually located on top of or connected to the fixture housing, that converts the high-voltage AC power from your home into the low-voltage DC power that the LED chip needs to operate.
The driver is often the first component to fail. It is more sensitive to heat and power fluctuations than the robust LED chip itself.
A Professional Diagnostic Process
| Symptom | Most Likely Cause | The Solution |
|---|---|---|
| Light is Flickering, Buzzing, or Strobing | 90% Chance: Incompatibility between the LED driver and the wall dimmer switch. 10% Chance: A failing LED driver. | 1. Replace the wall switch with a modern, high-quality LED-compatible dimmer (ELV type). 2. If that doesn’t work, replace the LED driver. |
| Light is Completely Dead | 50/50 Chance: A completely failed LED driver OR a failed LED chip/module. | The first step is to test or replace the LED driver. If a new driver doesn’t fix it, the LED module itself has failed, and the entire light fixture must be replaced. |
| Light is Very Dim or has Changed Color | 90% Chance: The LED chip/module is failing or has reached the end of its life (lumen depreciation). | The entire light fixture or light engine needs to be replaced. This is rarely a driver issue. |
How to Replace an LED Driver (An Electrician’s Job)
If you’ve diagnosed a faulty driver, a qualified electrician will perform the following steps:
- Isolate Power: Turn off the power at the breaker and verify the circuit is dead.
- Access the Driver: Gently pull the downlight fixture from the ceiling to access the driver, which is typically in the ceiling cavity connected by a short cable.
- Note the Specifications: The electrician will take a photo or write down all the specs on the old driver’s label. This is critical. The replacement driver must match the output voltage (V), output current (mA), et dimming protocol (e.g., 0-10V, Triac/Phase-cut) of the original.
- Disconnect and Replace: They will disconnect the old driver from both the mains power and the light engine, and securely connect the new, matching driver in its place.
- Test: Restore power and test the fixture’s operation.
When the LED Chip Itself Fails
If a new driver doesn’t solve the problem, the LED chip/module has failed. In 99% of integrated downlights, this component is not designed to be replaced on its own.
- The Solution: The only solution is to replace the entire light fixture. This ensures that the new LED module is perfectly matched with its new driver and heat sink for a long and reliable life.
Why Repair When You Can Upgrade?
A failed downlight, especially an older integrated model, is often an opportunity. Lighting technology improves rapidly. A new 2025-model downlight will likely offer:
- Higher Efficacy: More lumens for fewer watts, saving you money.
- Better Light Quality: Higher CRI (90+ as standard) for more vibrant colors.
- Advanced Features: Options like “Warm Dim” technology that were not common just a few years ago.
Instead of just replacing the failed component with a like-for-like part, consider upgrading the entire fixture to a newer, better model.
A Diagnostic Approach to a Modern Problem
Learning how to repair an LED downlight is less about soldering irons and more about smart diagnostics. It’s about understanding the system, identifying the most likely point of failure, and knowing when a simple fix is possible versus when it’s time to call in a professional.
For replaceable bulb systems, the solution is often a simple, DIY-friendly bulb swap. For integrated fixtures, the problem usually lies with the driver, and the solution requires the expertise of an electrician to replace it. And sometimes, the most logical “repair” is to replace the entire fixture with a newer, more efficient model.
By following a safe and logical process of elimination, you can move from a frustrating problem to a clear solution.
Facing a tricky lighting issue or planning a full upgrade?
Diagnosing and sourcing the correct replacement components like LED drivers can be complex. Our team of lighting specialists can help you troubleshoot your issues, identify the right replacement parts, or select the best new fixtures to upgrade your space.
Contact us today for a professional consultation and expert guidance.