 XHLUX
XHLUX
A led bathroom downlight should illuminate a defined task without creating mirror shadows, shower glare or an enclosure risk. Start with the room plan and water exposure—not a symmetrical ceiling grid or an IP65 label.
Use this page when you need to place ceiling light around a shower, bath, vanity, toilet and walking route, then verify which fitting is suitable for each position.
Si el método de montaje y la construcción del techo aún están por definirse, comience aquí:
→ Métodos de instalación de focos LED empotrables: empotrados vs. montaje en superficie vs. ajustables
For the deeper wet- and damp-location product check, use:
→ IP65 Waterproof LED Downlights for Commercial Wet & Damp Locations
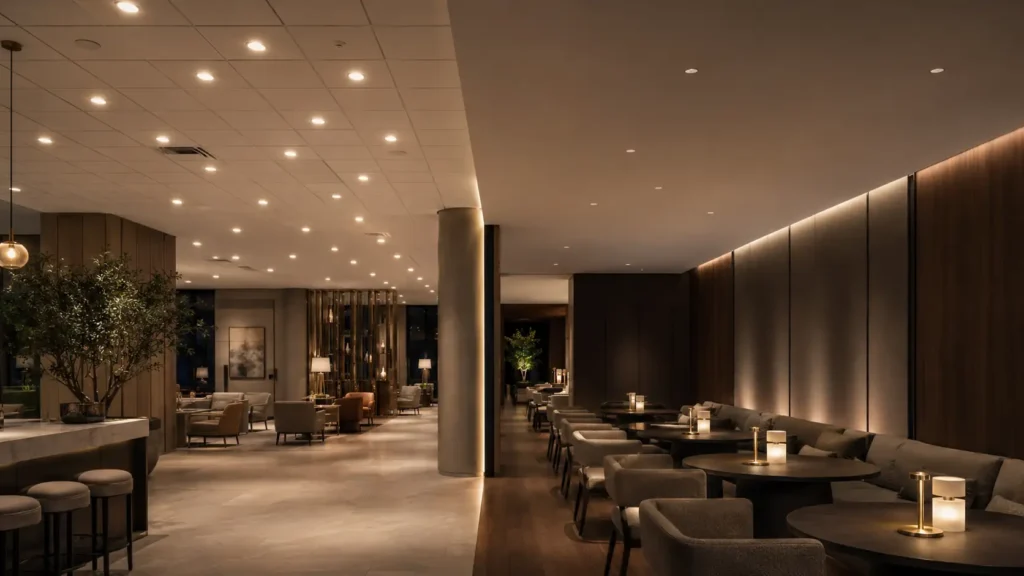
TL;DR: Fix the shower, bath, vanity, mirror and walking routes before placing ceiling points. Use downlights for ambient and task coverage, add vertical light for faces, and match each luminaire’s complete IP claim to its actual exposure and local electrical rules. IP65 can be useful near spray, but it is not a universal bathroom-layout answer.
1. Draw the bathroom before drawing the ceiling
Mark the shower, bath, basin, mirror, door, toilet, storage and walking routes. These objects determine where light is useful and where glare or water exposure is likely.
Then assign a job to each proposed ceiling point:
- Reveal the shower floor and controls
- Light the bath edge and approach
- Support general circulation and cleaning
- Illuminate storage or a towel area
- Add ambient light without replacing mirror lighting
If a point has no named target, question whether it belongs. A neat grid can still put one aperture in a reflected sightline and another where the shower screen blocks its beam.
🎯 What should be fixed before the ceiling points?
Fix the wet-area geometry, vanity, mirror, storage and walking routes before deciding the number or position of downlights.
2. Keep ceiling light out of the mirror sightline
A downlight directly above the basin often illuminates the top of the head while leaving shadows below the eyebrows, nose and chin. Moving it forward may improve facial light, but it can also create glare in the mirror.
Treat grooming as a vertical-lighting task. Diffused light beside the mirror can illuminate both sides of the face more evenly than one small ceiling source.
Ceiling light still has a role. It can illuminate the basin surface, floor, storage and circulation while the mirror layer handles faces.
Review the layout from normal standing height and any relevant seated position. Check reflections from glossy tiles, stone, glass and chrome.
🎯 Can a ceiling downlight replace mirror lighting?
Usually not; ceiling light supports the room, while a controlled vertical layer gives faces more even and useful illumination.
3. Place shower and bath lights by task and sightline
Do not assume the centre of a shower is automatically the best point. Mark the showerhead, controls, shelf or niche, drain, door and the direction from which the user enters.
A fitting above the showerhead can be shadowed by the user or hardware. Test whether the beam reaches the controls and floor without putting a bright aperture in the normal upward view.
For the bath, consider the entry side, wall surfaces and water reflections. A dimmable ambient layer is often more comfortable than one intense beam over the occupant.
The drawing is a coordination prompt, not a spacing prescription. Final positions depend on room dimensions, ceiling height, beam distribution, output, surfaces and the approved wet-area classification.
🎯 Should every bathroom use a four-point grid?
No; the required points follow the room geometry, tasks, beam data and reflected sightlines rather than a fixed pattern.
4. Map exposure before choosing the IP rating
An IP code classifies the enclosure’s resistance to ingress. Under IEC 60529, the first numeral addresses access and solid objects; the second addresses water.
IP44 and IP65 describe different tested protection levels, but neither identifies the permitted position by itself. Local rules, voltage, protection method, instructions and the installed assembly still apply.
The search phrase bathroom downlight ip44 often reflects a splash-protection question. In the UK, current IET guidance for BS 7671 states that equipment in bathroom zones 1 and 2 requires at least IPX4, or IPX5 where water jets are likely.
That is a UK example, not a global shortcut. Other countries define wet or damp locations differently, and project specifications may require more protection than the legal minimum.
Un led bathroom downlight ip65 specification adds dust-tight and water-jet protection at the tested enclosure, but it does not automatically approve every shower, submerged position, ceiling build-up or driver location.
🎯 Does every bathroom downlight have to be IP65?
No; the required protection depends on the exact position, exposure, regional rules and tested luminaire assembly.
5. Verify what the IP claim actually covers
A supplier may describe a fitting as a waterproof bathroom downlight, but “waterproof” is too vague for approval. Request the exact IP code and identify which components and faces were tested.
Check the following:
- Is the rating for the front face only or the complete luminaire?
- Does it apply after installation with the supplied gasket and trim?
- Is the remote driver covered by the same claim?
- Are connectors and cable entries included?
- Does tilting or adjusting the head change the rating?
- Are insulation, fire and acoustic accessories compatible with the tested assembly?
Check access above the ceiling. A protected front face does not cover an exposed driver or justify damaging the ceiling during service.
🎯 Is an IP65 bezel enough to approve the product?
No; approval must identify the complete tested assembly, installed face, driver, connections and manufacturer instructions.
6. Select output, beam and colour for the real surfaces
Do not choose bathroom brightness from wattage or one generic lumens-per-fitting number. Estimate the required light for each task, account for room reflectance and losses, then test the selected photometry.
The separate lumen guide by room explains the difference between input power, luminaire output and useful light at the target; keep it as a plain-text reference until that draft is published.
Use beam angle deliberately:
- Wider distributions can improve general overlap in a small room.
- Narrow beams can create bright pools and dark gaps.
- Deep recesses can reduce source visibility but change delivered output.
- Adjustable heads can aim at walls or storage but must retain the required environmental rating.
Compare colour samples against skin, tile, grout, timber and stone. Warm light can feel calmer; neutral light may improve task clarity. Colour quality matters more than a CCT label alone.
Use dimming to separate cleaning, grooming and night-time scenes. Confirm stable low-level operation with the exact driver, control and connected load.
🎯 What makes a bathroom sample useful?
It should prove faces, surfaces, glare, colour, dimming and wet-area suitability with the actual scheduled components.
7. Coordinate drivers, controls and maintenance
Keep drivers, junctions and control components in permitted, accessible positions. Do not hide a replaceable driver where routine service requires removing waterproofing or cutting the finished ceiling.
Record the complete control chain:
- Luminaire and LED module
- Driver model and output settings
- Dimming or control protocol
- Number of fittings per circuit
- Switch, sensor or scene-control location
- Required low-end dimming performance
For hotels and multi-unit projects, freeze the approved trim, optic, CCT, driver and gasket after the sample room so substitutions do not change appearance or protection.
🎯 What should the maintenance plan preserve?
It should preserve the enclosure, ceiling and wet-area details while keeping drivers and replaceable components safely accessible.
8. Approve one coordinated bathroom layout
Review the final plan as one system rather than a collection of product labels.
| Controlar | Approve when | Reject or revise when |
|---|---|---|
| Shower and bath | Tasks are visible without direct aperture glare | Hardware, users or glass block and reflect the beam |
| Vanity | Face receives balanced vertical light | One overhead point creates hard facial shadows |
| Clasificación IP | Exact assembly matches position and local rules | “Bathroom rated” or “waterproof” is the only evidence |
| Haz | Photometry covers targets with controlled overlap | Bright pools and dark gaps dominate the room |
| Color | Skin and finishes look acceptable in the real room | CCT was chosen from a label without a sample |
| Controles | Cleaning, grooming and night scenes are intuitive | One switch forces every layer to full output |
| Mantenimiento | Driver and connections remain accessible | Service damages the ceiling or moisture barrier |
Use calculations to predict coverage, then use a physical sample to judge reflections, skin appearance, glare and control behaviour.
🎯 When is the layout ready to release?
Release it only after room geometry, photometry, exposure, local rules, controls and one representative sample agree.
¿Qué hacer a continuación?
- Freeze the shower, bath, vanity, mirror, storage and circulation plan.
- Mark each proposed luminaire’s task and exposure condition.
- Use the installation-methods and wet-location guides linked near the introduction to verify construction and protection.
- Use the separate brightness guide for the preliminary lumen check once that draft is published.
- Keep Guías de downlights LED por habitación y aplicación. as a plain-text routing reference until that page is publicly available.
- Ask XHLUX or another project supplier for exact IP evidence, photometry, driver data and a representative sample before releasing a repeated layout.
Preguntas frecuentes
Notas y fuentes
- International Electrotechnical Commission — IEC 60529, Degrees of Protection Provided by Enclosures (IP Code): enclosure protection classification and IP-code structure.
- Institution of Engineering and Technology — BS 7671, Section 701: Locations Containing a Bath or Shower and current technical FAQs: UK bathroom zones and minimum water-ingress protection requirements.
- Comisión Internacional de Iluminación — CIE S 017:2020, Vocabulario internacional de iluminación: vertical illuminance terminology used for mirror and facial-lighting discussion.
- Product photometry, IP test evidence, installation instructions, driver data and local electrical requirements must match the exact configuration and market.
![Iluminación suspendida con rieles para uso comercial: la mejor guía [2025]](https://www.xhlux.com/wp-content/uploads/2025/08/How-to-Choose-Commercial-Suspension-Track-Lighting-560x560.webp "Iluminación suspendida con rieles para uso comercial: la mejor guía [2025]")