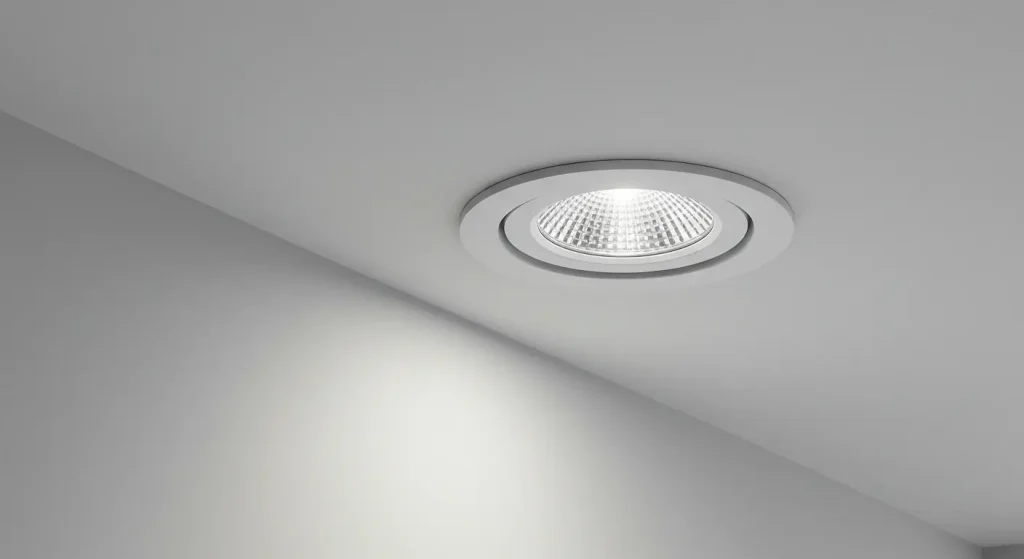
![How to Install Philips LED Downlight : 5 Steps Guide [2025]](https://xhlux.com/wp-content/uploads/2024/05/news.webp)
Tabla de contenido
- 🔧 Introduction: Why Choose Philips LED Downlights?
- 📌 Quick Overview: What You Need
- 🔍 Step 1: Determine Compatibility and Ceiling Type
- 📐 Step 2: Measure and Cut the Hole (For Recessed Models)
- ⚙️ Step 3: Electrical Wiring Connection
- 🛠️ Step 4: Insert and Mount the Downlight
- 💡 Step 5: Power On and Test
- 📊 Philips LED Downlight Installation Benefits
- 🧠 Troubleshooting Tips
- 📈 Market Trend: Why More People Are Switching to Philips Downlights
- 🌍 Sustainability Advantage
- ✅ Final Checklist Before You Finish
- 📘 Conclusion: Easy, Safe, and Smart Installation
- 🔍 Related Searches
🔧 Introduction: Why Choose Philips LED Downlights?
Philips is a globally trusted brand in LED lighting, known for combining energy efficiency with cutting-edge technology. Whether you’re a homeowner upgrading your living room ambiance or a contractor outfitting a commercial space, Philips LED downlights are a top choice for modern, long-lasting illumination.
But despite their user-friendly design, knowing how to install a Philips LED downlight correctly is key to ensuring performance, safety, and longevity. In this article, we’ll walk you through the full installation process — from planning and safety checks to wiring and mounting — using clear language, visuals, and real-world expertise.
📌 Quick Overview: What You Need
| Tools Required | Materials Needed |
|---|---|
| Screwdriver (Flathead + Philips) | Philips LED Downlight Unit |
| Wire cutter/stripper | Electrical wiring (as per standard) |
| Voltage tester | Mounting accessories (clips, brackets) |
| Pencil & measuring tape | Junction box (if required) |
| Drill with hole saw bit | Ladder or step stool |
⚠️ Importante: Always switch off power at the circuit breaker before beginning any electrical work.
🔍 Step 1: Determine Compatibility and Ceiling Type
Before diving into installation, check the following:
✅ Ceiling Compatibility:
- Philips downlights can be installed in drywall, gypsum board, or false ceilings.
- Surface-mounted models may be installed directly onto concrete o solid ceilings using mounting brackets.
✅ Voltage & Fixture Size:
- Most Philips LED downlights are 220–240V compatible.
- Choose appropriate cutout size (e.g., 75mm, 90mm, 120mm) based on the model.
💡 Consejo profesional: Use a Philips-branded installation manual to match fixture dimensions and cutout size.
📐 Step 2: Measure and Cut the Hole (For Recessed Models)
For recessed models like the Philips Slim Downlight o Philips Smart WiZ Downlight, mark the center point of your light placement.
How to Measure Cutout Size:
| Model | Cutout Diameter |
|---|---|
| Philips Slim 10W | 90mm |
| Philips Essential SmartBright | 75mm – 120mm |
| Philips Meson Series | 150mm |
Steps:
- Use a pencil to mark the center point.
- Utilice un hole saw attachment on a power drill to create the cutout.
- Ensure a snug fit for thermal efficiency and fixture stability.
🔧 Don’t oversize the hole — the downlight clips rely on pressure to hold firmly.
⚙️ Step 3: Electrical Wiring Connection
Key Connection Points:
- Live (Brown/Red) to L terminal
- Neutral (Blue/Black) to N terminal
- Earth (Green/Yellow) if provided
For plug-and-play drivers (common in Philips models), simply:
- Match the input wires from the driver to your ceiling’s power cable.
- Usar wire connectors o WAGO terminals to secure the connection.
- If your Philips LED comes with a pre-wired driver, no manual connection is needed beyond the main supply.
🧠 Expert Insight: Avoid twisting wires by hand. Use certified connectors to meet safety standards.
🛠️ Step 4: Insert and Mount the Downlight
Depending on the type of Philips LED downlight:
Recessed Mount:
- Compress the spring clips.
- Gently insert the fixture into the ceiling.
- Release the clips to lock the unit in place.
Surface Mount:
- Mark and drill holes on the ceiling based on the mounting plate.
- Screw the plate securely.
- Attach the downlight to the plate using screws or twist-lock mechanism.
💡 Step 5: Power On and Test
Once the downlight is securely mounted:
- Turn the main breaker back on.
- Flip the light switch.
Check for:
- Bright, flicker-free lighting
- Proper color temperature (e.g., 3000K warm white or 6500K cool white)
- No buzzing or dimming (if dimmer is compatible)
🔍 Common issue? If light flashes or doesn’t turn on, check your driver connection or try resetting the dimmer (if used).
📊 Philips LED Downlight Installation Benefits
| Característica | Benefit |
|---|---|
| Energy-Efficient | Up to 85% savings vs. halogen |
| Larga vida útil | Over 25,000 – 50,000 hours |
| Smart Options Available | Voice control via Wi-Fi or Zigbee |
| Tool-Free Installation | Plug-and-play models reduce install time |
| Dimmable Versions | Perfect for ambience control |
🧠 Troubleshooting Tips
| Issue | Possible Cause | Solución |
|---|---|---|
| Light not turning on | Loose wire or faulty driver | Recheck wiring; test driver |
| Flickering or flashing | Incompatible dimmer or voltage fluctuation | Replace dimmer or use surge protector |
| Fixture overheating | Improper insulation or airflow | Use IC-rated models or re-position |
📈 Market Trend: Why More People Are Switching to Philips Downlights
According to a 2024 report by Fortune Business Insights, the global LED lighting market is projected to reach \$135.9 billion by 2030, with Philips Signify remaining one of the top 3 global leaders due to its focus on energy efficiency, smart lighting, and easy installations.
🗣️ “Homeowners are increasingly looking for DIY-friendly, sustainable lighting upgrades. Brands like Philips dominate because they offer reliability with smart control flexibility.” — Lighting Analyst, Global Smart Lighting Journal
🌍 Sustainability Advantage
Philips LED downlights are RoHS and CE certified, with many models featuring:
- Mercury-free design
- Low heat emission
- Recyclable packaging
By installing Philips LED lights, you reduce both your carbon footprint and long-term energy bills.
✅ Final Checklist Before You Finish
- Power is off at the circuit breaker
- Correct cutout size is made
- Wiring is secure and connected properly
- Fixture is stable and flush with ceiling
- Light turns on without flicker or delay
📘 Conclusion: Easy, Safe, and Smart Installation
Now that you know how to install Philips LED downlights, you’re equipped to take on your next lighting upgrade with confidence. Whether it’s a surface mount, recessed ceiling, o smart Wi-Fi downlight, proper installation ensures long-term safety, energy efficiency, and satisfaction.
For larger projects, especially in commercial or office environments, consider working with a certified electrician to guarantee compliance with local codes and wiring standards.
🔍 Related Searches
- how to replace old ceiling light with Philips downlight
- Philips smart downlight installation instructions
- install Philips WiZ LED ceiling light
- can I install Philips LED downlight on concrete ceiling
- Philips LED recessed lighting guide