
Table of contents
LED track lighting has become a popular choice for modern space lighting due to its excellent performance and flexibility. This article provides a detailed guide to installing LED track lighting, helping you easily complete the entire installation process. We first introduce the preparations required before installation, such as checking tools and materials and measuring space dimensions.
Next, we will explain how to properly install the track to ensure it is securely fixed to the ceiling or wall. We will then cover the precautions for power connections to ensure that the wiring complies with electrical standards.
Afterward, we introduce how to install the LED fixtures onto the track and adjust their direction and angle as needed. Finally, we provide steps for testing and fine-tuning the system to help you check and optimize the lighting effect.
1. What to Prepare for Installing LED Track Lighting
Before officially installing the LED track lighting system, the following preparatory steps are required:
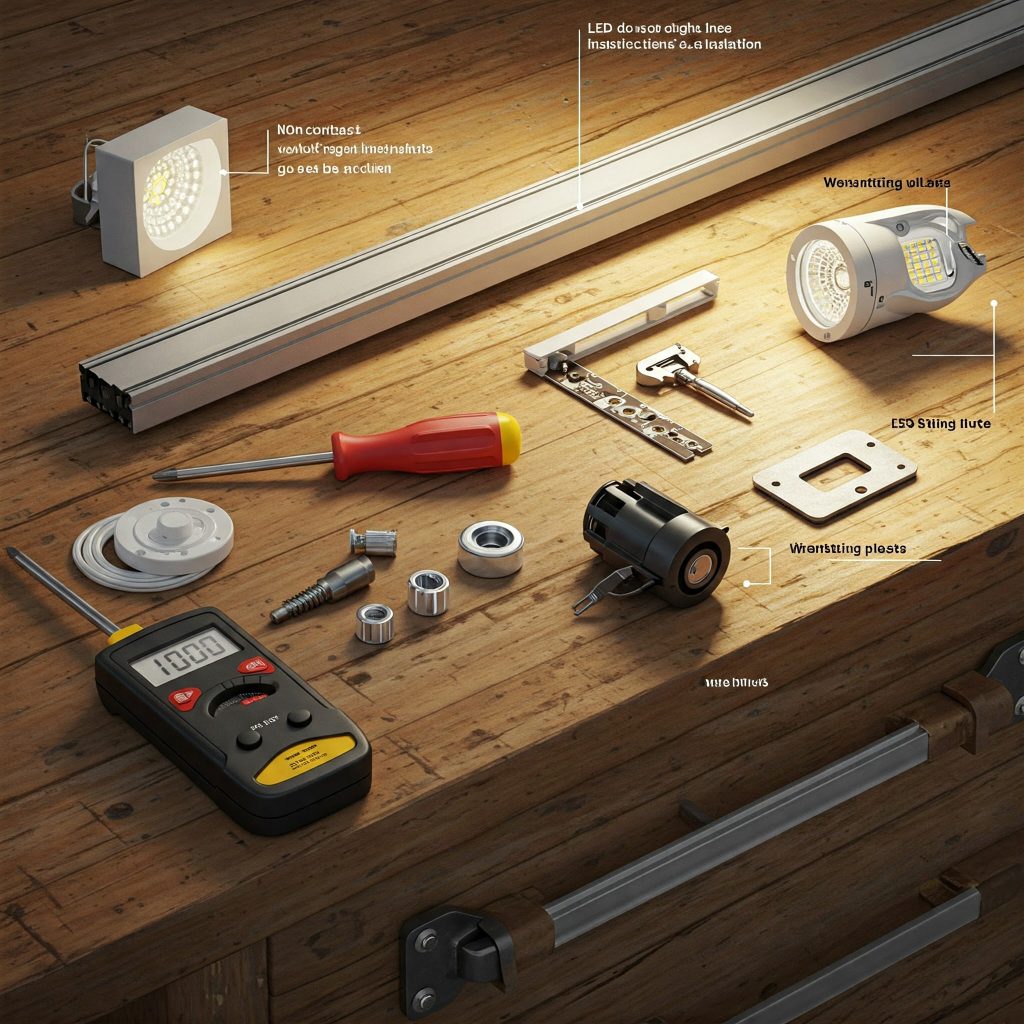
1. Check and Prepare the Necessary Tools and Materials:
- Basic installation tools such as electric drills, screwdrivers, scissors, measuring tools, etc.
- Suitable fasteners like screws, expansion bolts, brackets, etc.
- The selected LED track lighting system, including tracks, fixtures, connectors, etc.
- Electrical connection materials such as power cables, terminal blocks, and insulating tape.
- Cleaning tools, such as brushes and cloths, for post-installation cleaning.
2. Measure the Space Dimensions and Choose the Appropriate Track Length:
- Carefully measure the length and width of the areas where you plan to install the track, such as the walls and ceiling.
- Choose the appropriate track length based on the actual space size, avoiding tracks that are too long or too short.
- Typically, 2-3 fixtures can be installed per meter of track, with some extra space left.
- For larger spaces, consider using modular tracks that can be spliced together.
3. Plan the Lighting Layout and Fixture Placement:
- Design a reasonable lighting layout based on the characteristics of the space and its usage needs.
- Determine the installation positions for each fixture to ensure uniform lighting.
- Consider the need for directional adjustments for the fixtures and leave adequate installation space.
4. Check the Power Supply Conditions:
- Verify that the selected system voltage (12V, 24V, or 220V) matches the site’s power supply.
- If a special power supply is required, prepare an adapter or transformer in advance.
- Assess the load capacity of the power circuit to ensure it meets the lighting system’s power needs.
By completing these preparations, the installation process will go smoothly, ensuring the LED track lighting system operates properly.
2. Steps for Installing LED Track Lighting
Follow these steps to install the LED track lighting:
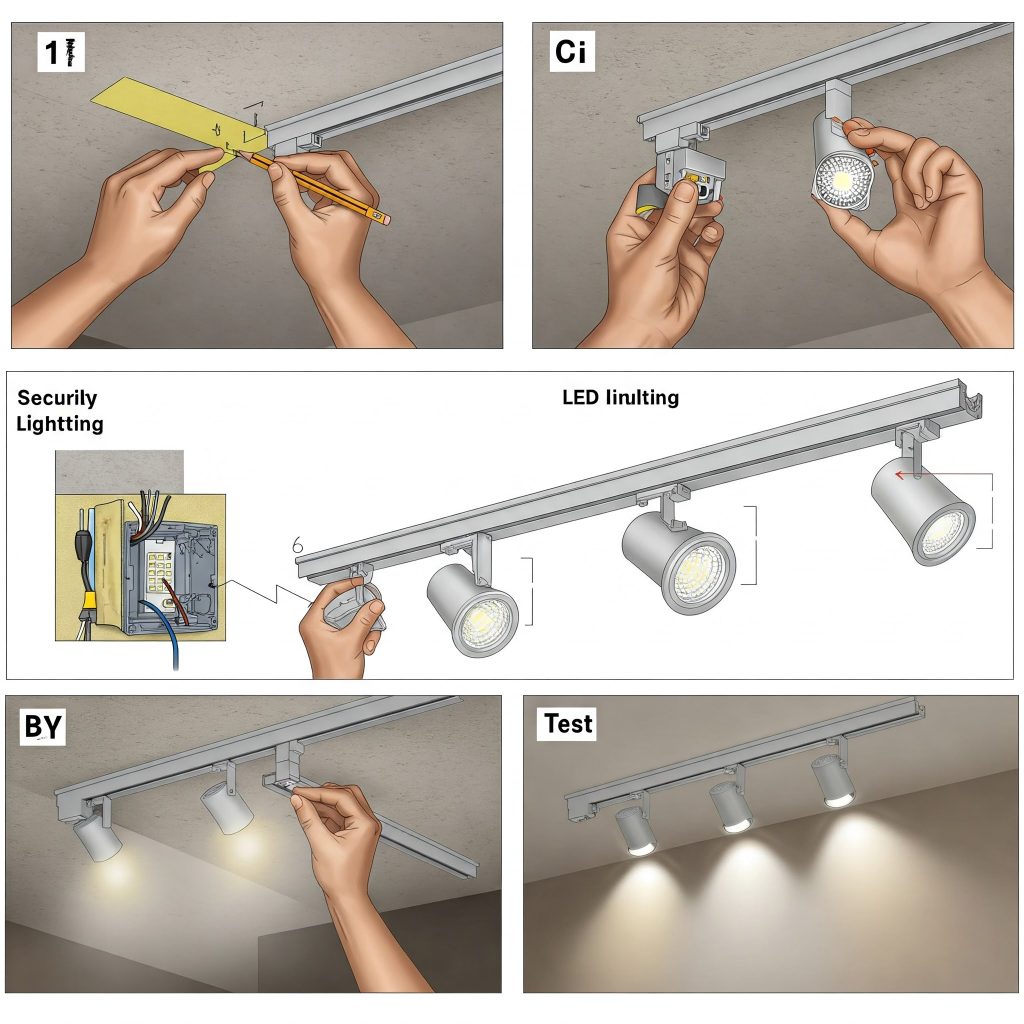
1. Determine the Optimal Installation Location:
- Choose the appropriate installation location for the track based on the planned lighting layout.
- The track installation location should be convenient for power access, avoiding long or unsightly wires.
- For ceiling installation, ensure there is enough space above the track for proper mounting.
- For wall installation, select a sturdy structure.
2. Measure and Mark the Installation Position:
- Use a tape measure or laser distance meter to measure the dimensions of the installation area.
- Mark the installation location according to the track length.
- Ensure that the marked lines are straight and level for subsequent fixing.
3. Fix the Track in Place:
- Choose the appropriate fasteners (such as screws or expansion bolts) based on the track type and installation material.
- Drill holes at the marked positions and firmly fix the track to the base.
- Ensure the track is installed level and straight, with no wobbling or loosening.
4. Connect the Wiring:
- According to the track’s power input connection method, correctly connect the power wires.
- Ensure that the power wiring is secure and reliable, with no exposed wires or poor contacts.
- For tracks requiring special power supplies, install the transformer or power adapter in advance.
5. Organize and Route the Cables:
- Organize the power and signal cables to avoid affecting the installation’s aesthetic.
- Use cable channels or clips to organize and secure the cables.
- Ensure that the cable routing is neat and does not interfere with the track installation.
After installation, always check the track’s installation quality and electrical connections to ensure the system is stable and reliable.
3. Connecting the Power Supply After Installing the LED Track
After installing the LED track, you need to correctly connect the power supply to ensure safe and reliable system operation. Follow these steps:
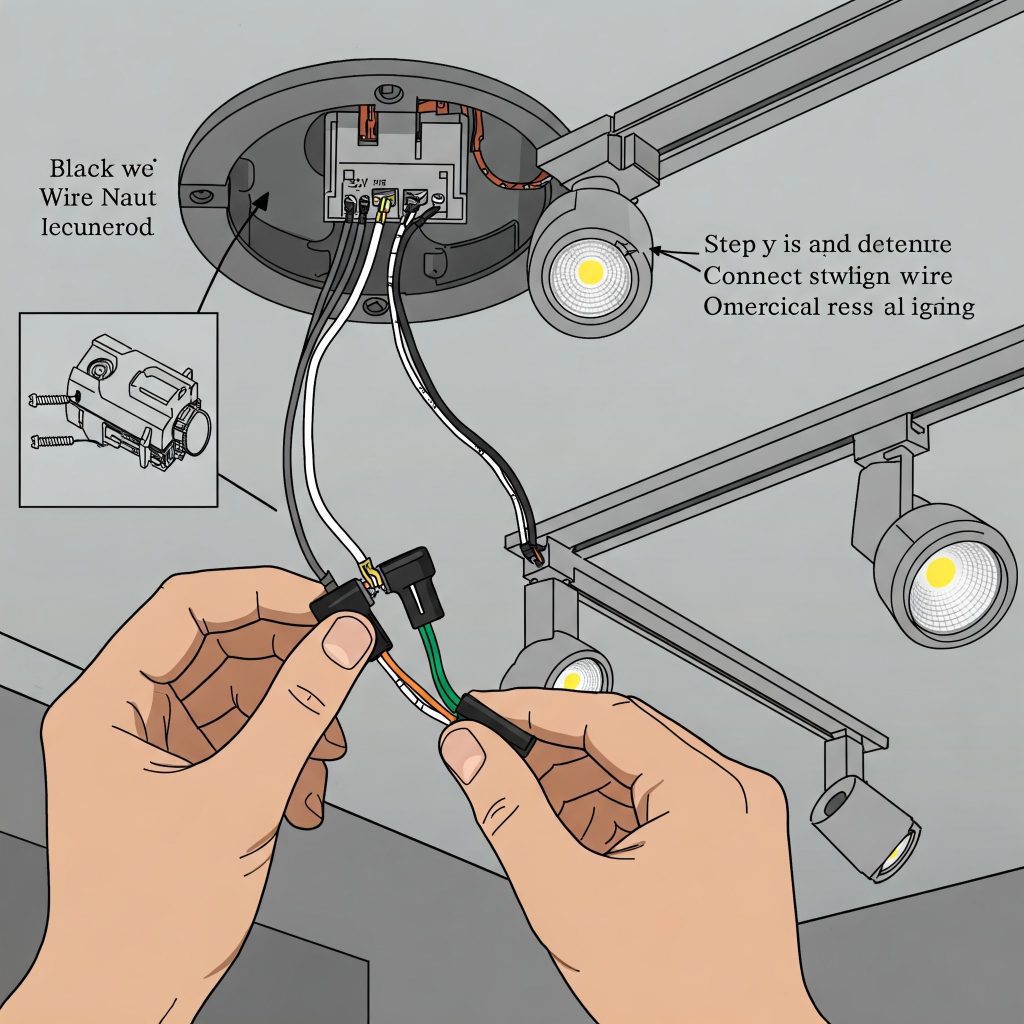
1. Verify Power Supply Voltage Compatibility with the Track System:
- Check the track’s markings to confirm whether it operates at 12V, 24V, or 220V.
- Ensure the site’s power supply matches the track system’s voltage to avoid incorrect power connections.
- For 220V power tracks, prepare a transformer or power adapter in advance.
2. Prepare Power Supply Wiring Materials:
- Prepare suitable power cables that meet the system’s requirements.
- Prepare terminal blocks, insulating tape, and other electrical connection materials.
- Choose the appropriate cable routing method, such as using cable channels or clips.
3. Connect the Power Supply Wiring:
- Connect the power supply wires according to the track system’s wiring instructions.
- Ensure the positive and negative connections are correct to avoid damaging the equipment.
- Use reliable connection methods, such as terminal blocks or cold-pressed connectors, to ensure a secure connection.
- Insulate the connection points to prevent electrical shock and short-circuit risks.
4. Check Electrical Safety:
- Check that the power cables are tidy, undamaged, and free from signs of aging.
- Ensure the connection points are free from fire hazards, such as overheating terminals.
- Test the system to ensure that all components are working properly after powering on.
5. Grounding Protection:
- For a 220V power track system, ensure proper grounding protection.
- Securely connect the grounding wire to the track body or the designated grounding terminal.
- Follow local electrical installation regulations for grounding.
By following these wiring and safety procedures, you can ensure the LED track lighting system operates safely and reliably.
4. How to Install the LED Fixtures Correctly
After installing the LED track and power connections, the next step is to install the LED fixtures onto the track and adjust their direction and angle to achieve the desired lighting effect. Follow these steps:
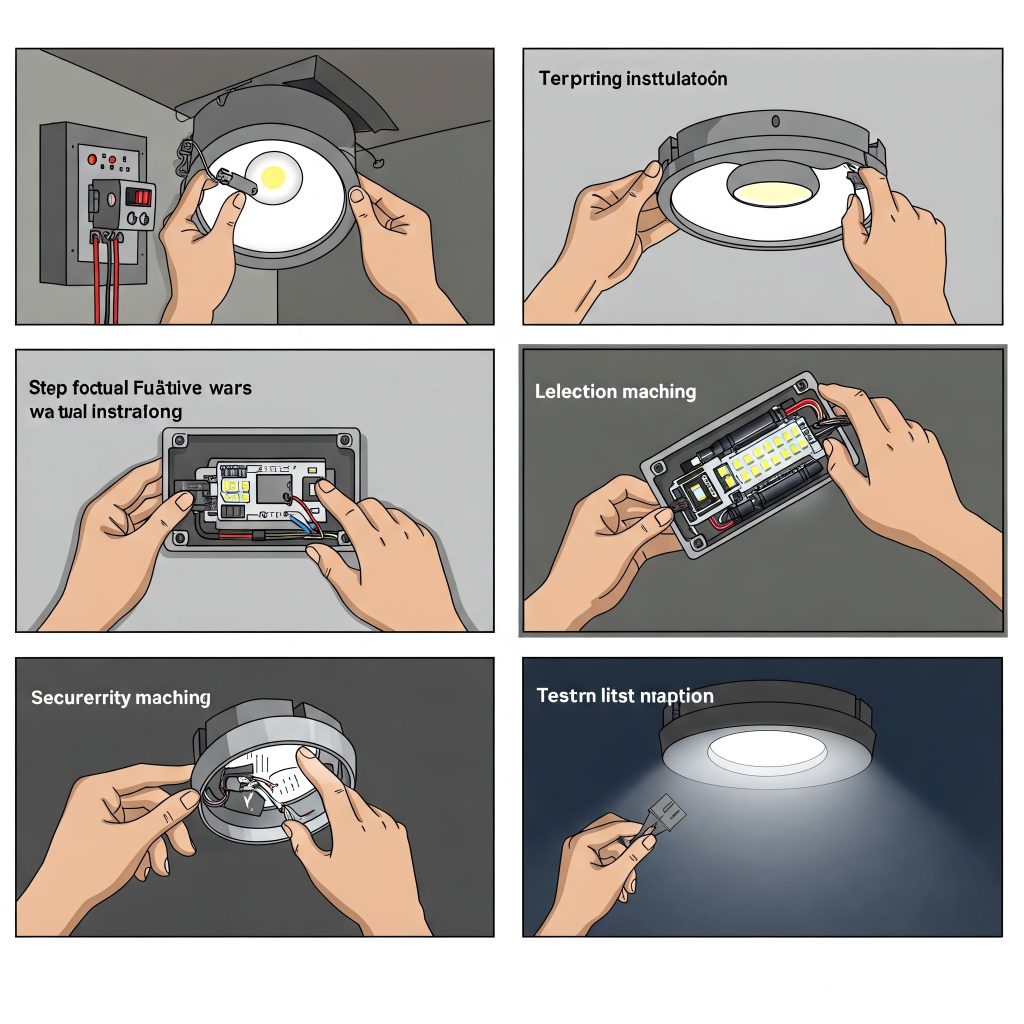
1. Prepare for Fixture Installation:
- Check that the fixtures are compatible with the selected track to ensure proper connection.
- Prepare the necessary tools for installation, such as screwdrivers and wrenches.
- Ensure the track surface is clean and dry to facilitate fixture installation.
2. Install the Fixtures onto the Track:
- Follow the fixture’s manual to connect the fixture to the track.
- Align the fixture’s connector with the track’s port to ensure a good contact.
- Use screws or other fasteners to securely attach the fixture to the track.
3. Adjust the Fixture’s Direction and Angle:
- Adjust each fixture’s direction according to your lighting needs.
- Use the fixture’s adjustment mechanism to change its tilt angle.
- Ensure the adjusted fixture position and angle meet the lighting design requirements.
4. Check the Fixture Installation Quality:
- Check that the fixtures are securely installed with no wobbling or looseness.
- Ensure that the fixtures have good contact, and there are no issues like uneven brightness.
- Test the fixtures to make sure they work correctly without any malfunctions.
5. Organize the Fixture’s Power Cables:
- Organize the fixture power cables to improve the aesthetic of the installation.
- Use cable clips or channels to manage and secure the cables properly.
- Ensure the cable routing is neat and doesn’t interfere with the fixture installation.
By following these installation and adjustment steps, you can ensure the LED track lighting system achieves the desired lighting effects and looks aesthetically pleasing.
5. How to Test and Adjust the LED Track Lighting System
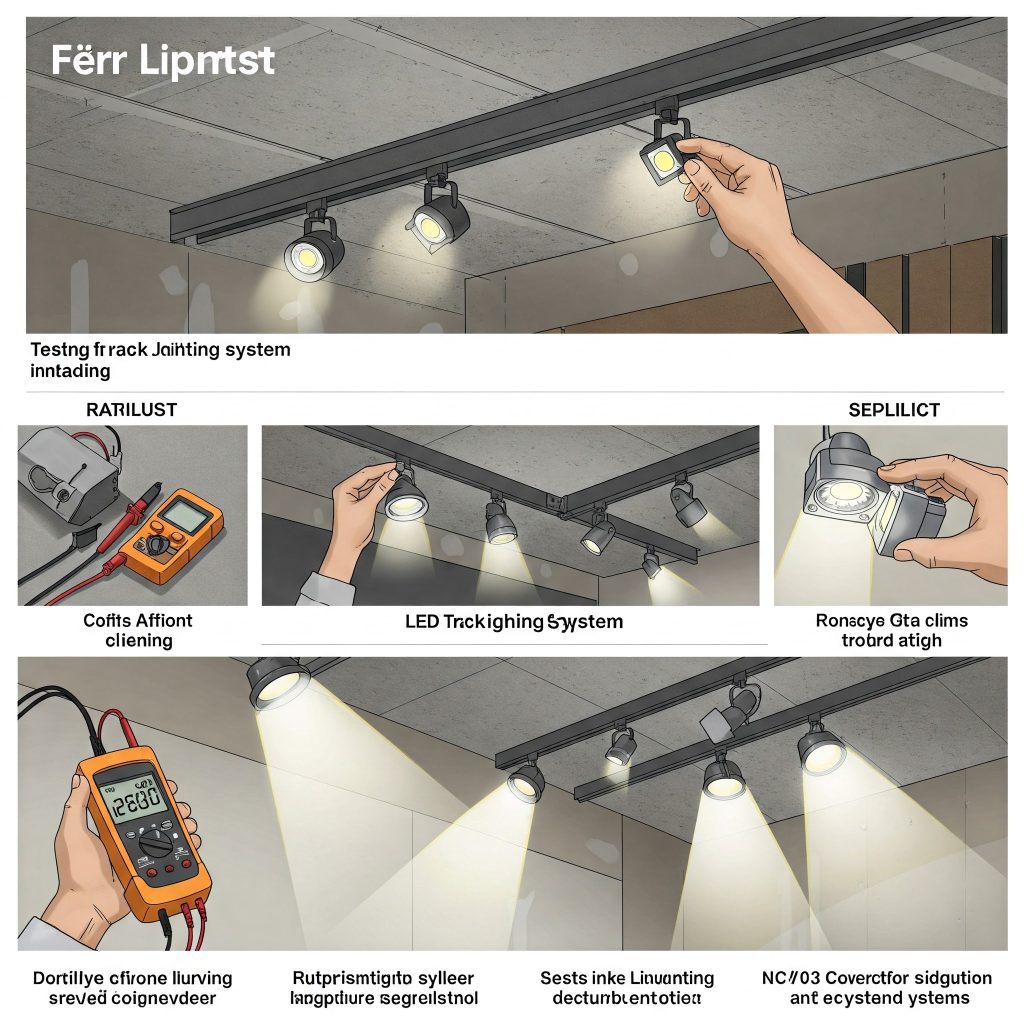
After completing the installation of the LED track lighting system, it’s important to perform a thorough test and make adjustments to ensure the system works as expected and provides the desired lighting effect. Follow these steps:
1. System Power-On Test:
- Be cautious when powering on the system for the first time to ensure wiring is correct.
- Turn on the power switch and check if the system starts up properly.
- Check that all fixtures are illuminated and there are no missing lights.
2. Evaluate Lighting Effects:
- Carefully observe the overall brightness and light distribution of the lighting area.
- Check for any dark spots, uneven lighting, or glare.
- Assess whether the lighting effect meets the desired requirements.
3. Adjust Fixture Position and Angle:
- Make small adjustments to the positions and angles of the fixtures to improve the lighting distribution.
- Fine-tune the fixture direction to optimize the overall lighting.
- If necessary, relocate some fixtures to better suit the lighting design.
4. Adjust Brightness and Color Temperature:
- Adjust the brightness and color temperature settings for different usage scenarios.
- Use dimmers or control systems to fine-tune brightness.
- For fixtures with adjustable color temperature, choose the appropriate setting for your needs.
5. Test System Functions:
- Test basic functions such as switch control and brightness adjustment.
- If the system includes timers, sensors, or other control devices, test their functionality.
- Ensure that the entire system operates stably and reliably according to the design.
Through thorough testing and fine-tuning, you
can ensure the LED track lighting system achieves the best lighting effect and meets your needs.
6. Conclusion
Installing an LED track lighting system is not difficult as long as you follow the correct steps. Our company is a professional lighting solution provider with an extensive range of LED track lighting products and comprehensive installation support services.
Whether you’re installing the system yourself or need professional assistance, we are here to offer expert advice and support throughout the process. Our engineering team can provide the best installation plan based on your specific needs and guide you through the construction. We also offer product warranties and after-sales services to ensure your LED track lighting system runs smoothly for the long term. Contact us today to start your new lighting experience.