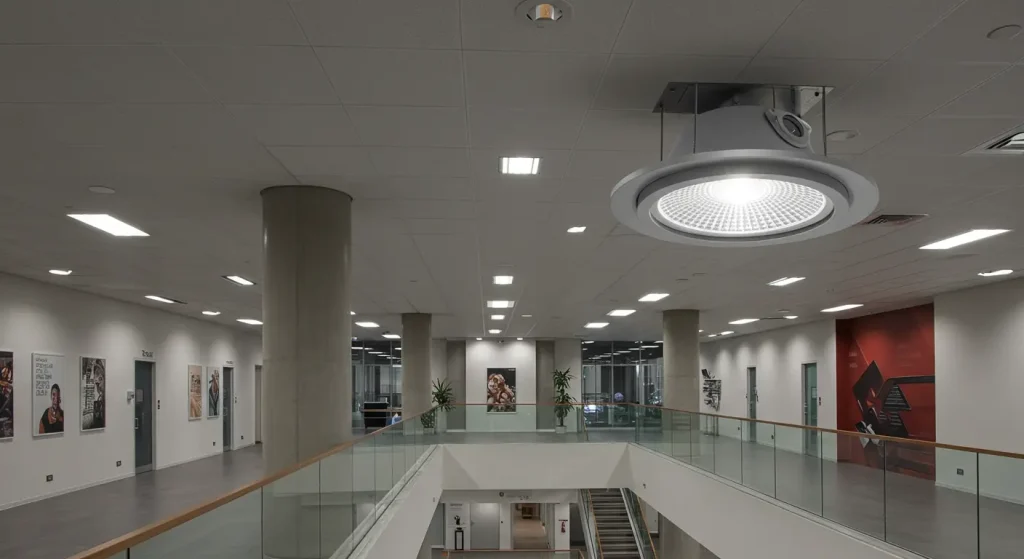
![How To Fit Downlight Covers: Step-by-Step Guide [2025] - XHLUX](https://xhlux.com/wp-content/uploads/2024/05/news.webp)
Table of contents
- Why Fitting Downlight Covers Matters
- What You’ll Need: Tools & Materials
- Step-by-Step: How To Fit Downlight Covers
- Key Safety Guidelines You Shouldn’t Skip
- Mistakes to Avoid During Installation
- Insulation Compatibility: What Works, What Doesn’t
- Professional vs DIY: Which Should You Choose?
- Cost & ROI Overview
- Industry Standards and Expert Insights
- Final summary
- FAQ About How To Fit Downlight Covers
- Ready to Build Safer Ceilings?
When was the last time you looked above your ceiling and wondered if your recessed lights are truly safe?
It’s a detail often overlooked—yet one with serious consequences. Whether you’re a contractor upgrading a commercial space, a homeowner insulating your attic, or a lighting distributor advising your clients, fitting downlight covers properly can mean the difference between compliance and liability.
In this guide, you’ll learn exactly how to fit downlight covers the right way, why it matters more than ever in 2025, and what tools, standards, and safety measures you should never skip.
Because with stricter energy codes, rising fire safety regulations, and smarter lighting systems on the rise—a well-installed downlight cover isn’t just optional. It’s essential.
Why Fitting Downlight Covers Matters
If you’re asking how to fit downlight covers, chances are you’ve either:
- Installed recessed lighting in an insulated ceiling, or
- Been told your ceiling needs fire-rated protection around lights.
Here’s the truth: a poorly fitted or missing downlight cover can increase fire risk, energy loss, and even insurance liability.
Secondo il UK Building Regulations Part B & Part L, and similar EU standards, any lighting that penetrates a fire-rated ceiling or insulation barrier must be:
- Protected against thermal transfer
- Certified to restore the fire rating of the ceiling
- Properly sealed to prevent air leakage
So fitting your downlight cover correctly is not just about doing a neat job—it’s a legal and safety requirement in many regions.
What You’ll Need: Tools & Materials
Before you begin installation, gather the following:
| Item | Description |
|---|---|
| Downlight Cover | Fire-rated or IC-rated, sized appropriately |
| Screwdriver or Drill | To secure any mounting brackets if required |
| Utility Knife | To trim insulation neatly if necessary |
| Tape Measure | To verify ceiling cutout and cover size |
| Insulation Retainers | Optional – helps secure insulation around the cover |
💡 Ensure the downlight is turned off and power is disconnected before starting.
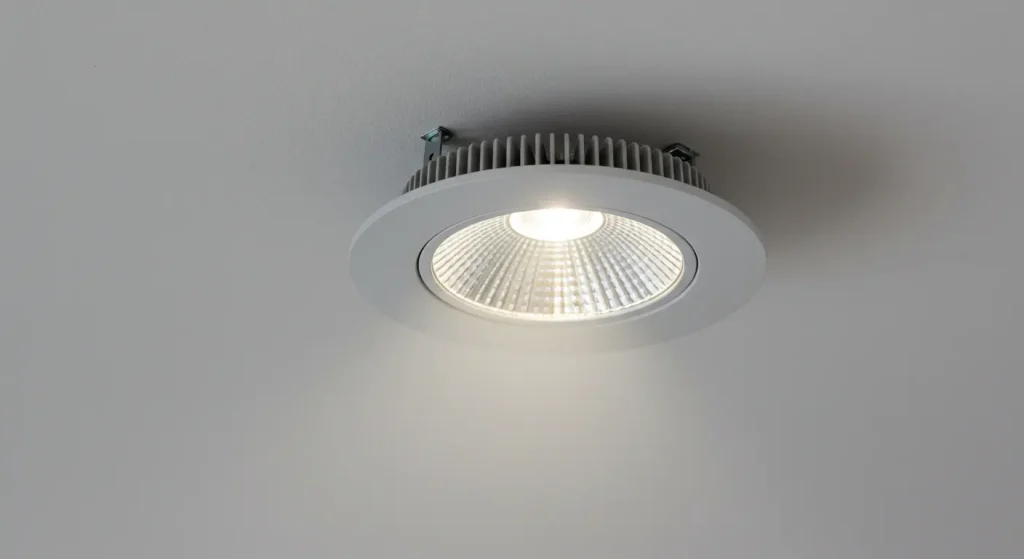
Step-by-Step: How To Fit Downlight Covers
Here is the recommended installation method that meets 2025 energy and fire safety standards:
✅ Step 1: Identify Cover Type
Check if the cover is:
- Loose-fit (sits above the downlight), or
- Clip-in (mechanically fixed around the fixture)
Only use covers that are UL94 rated or EN 60695 compliant for fire resistance.
✅ Step 2: Clear Insulation Area
Pull back surrounding insulation 4–6 inches from the light fitting.
This creates a safe workspace and helps prevent compressed contact.
✅ Step 3: Fit the Downlight Cover
Place the cover over the downlight from above the ceiling (loft or crawlspace access is typically required).
- Ensure there’s clearance between the light and cover—minimum 25mm gap unless the cover is IC-rated.
- Align the cover centered over the light opening.
✅ Step 4: Reposition Insulation Carefully
Once the cover is secure, gently place insulation back around and over the cover.
- Never compress the cover.
- If using mineral wool or fiberglass insulation, do not block ventilation holes (if present).
✅ Step 5: Inspect and Test
Turn the power back on and test the downlight to ensure:
- There’s no overheating
- Light functions as expected
- No exposed wiring is visible
Key Safety Guidelines You Shouldn’t Skip
| Rule | Why It Matters |
|---|---|
| Don’t Install Without Power Isolation | Prevents electric shock during fitting |
| Don’t Use Non-Rated Plastic Covers | May melt or ignite at high temps |
| Maintain Clearance for Ventilation | Ensures safe thermal operation |
| Verify Cover Certification | Only use fire-rated, tested materials |
A 2024 TÜV Rheinland report found that 18% of ceiling fire risks in residential buildings stemmed from improper or uncertified light fittings and accessories.
Mistakes to Avoid During Installation
- ❌ Using the wrong size: Too small and it may not cover properly; too large and it may collapse into insulation
- ❌ Skipping insulation re-adjustment: Loose insulation can trap heat
- ❌ Using flammable tape or foam to secure: Only use approved clips or fire-rated adhesives
- ❌ Assuming any cover fits all lights: Each brand/model varies in height and beam shape
Insulation Compatibility: What Works, What Doesn’t
| Insulation Type | Compatible with Covers? | Notes |
|---|---|---|
| Mineral Wool | ✅ Yes | Retains shape, breathable |
| Fiberglass Batts | ✅ Yes | Do not overpack around covers |
| Blown Cellulose | ⚠️ Use with mesh barriers | May settle unevenly |
| Spray Foam | ❌ No | Not safe unless specifically tested |
✔️ Pro Tip: Use downlight covers marked “IC Rated” if you plan to completely surround them with insulation.
Professional vs DIY: Which Should You Choose?
| Factor | DIY | Professional Installer |
|---|---|---|
| Cost | Low (only cover + tools) | Higher upfront but expert fit |
| Time Required | 15–30 min/unit | 5–10 min/unit (with experience) |
| Compliance Risk | Medium | Low |
| Project Size | Small homes | Commercial, multi-room installations |
🛠️ For small residential jobs, DIY is feasible. For large-scale commercial or high-spec projects, hire a certified electrician or lighting contractor.
Cost & ROI Overview
| Item | Avg. Unit Price (USD) | ROI Category | Notes |
|---|---|---|---|
| Basic Downlight Cover | \$6–\$10 | Medium (Energy Save) | Easy to fit, durable |
| Fire-Rated Premium Cover | \$10–\$15 | High (Compliance + Energy) | Required for building code |
| No Cover (High Risk) | \$0 | Negative (Safety + Efficiency loss) | Not recommended |
A \$10 cover can extend the lifespan of your LED fixture by 25–30%, reduce utility costs, and maintain fire safety compliance.
Industry Standards and Expert Insights
According to LightingEurope’s 2025 Retrofit Safety Brief, over 55% of LED retrofit projects in insulated ceilings require additional thermal or fire protection.
Expert Insight:
“Downlight covers are a small investment with outsized value. The real cost comes when they’re forgotten, not when they’re installed.”
— Elena Moretti, Lighting Consultant, GreenBuild EU
Final summary
Fitting downlight covers is one of the most overlooked yet critical aspects of safe and efficient lighting design. When installed correctly, these inexpensive components:
- Prevent fires
- Improve insulation
- Extend the lifespan of your LED downlights
- Keep your building compliant with EU & UK regulations
✅ Whether you’re a lighting contractor, architect, or homeowner, fitting downlight covers should always be part of your ceiling lighting plan.
FAQ About How To Fit Downlight Covers
Ready to Build Safer Ceilings?
At XHLUX, we provide certified downlight covers, fire-rated lighting solutions, E custom OEM/ODM services for lighting professionals across Europe and worldwide.
✅ CE/ROHS Certified
✅ OEM/ODM Support
✅ Competitive Pricing for Distributors
✅ Fast Global Shipping
👉 Looking for expert advice or bulk pricing?
Contact Our Lighting Experts or Download Our Downlight Product Catalog today and get started with safe, energy-smart installations.