XHLUX
XHLUX

A large downlight is worth specifying when mounting height and target coverage make a dense grid of small heads noisy, expensive, or still dark between centres.
Use this page for cut-out size, beam choice, and spacing on tall commercial ceilings.
Skip it if you need rectangle-only linear spacing, a lumens-vs-watts primer, or round-vs-square shape advice — those are separate guides (rectangle spacing draft — not linked until live; brightness draft — not linked until live).
Shape fork if still open:
→ Round vs Square Downlights: Does Shape Change Performance?
Mount path if still open:
→ LED Downlight Installation Methods: Recessed vs Surface Mount vs Adjustable
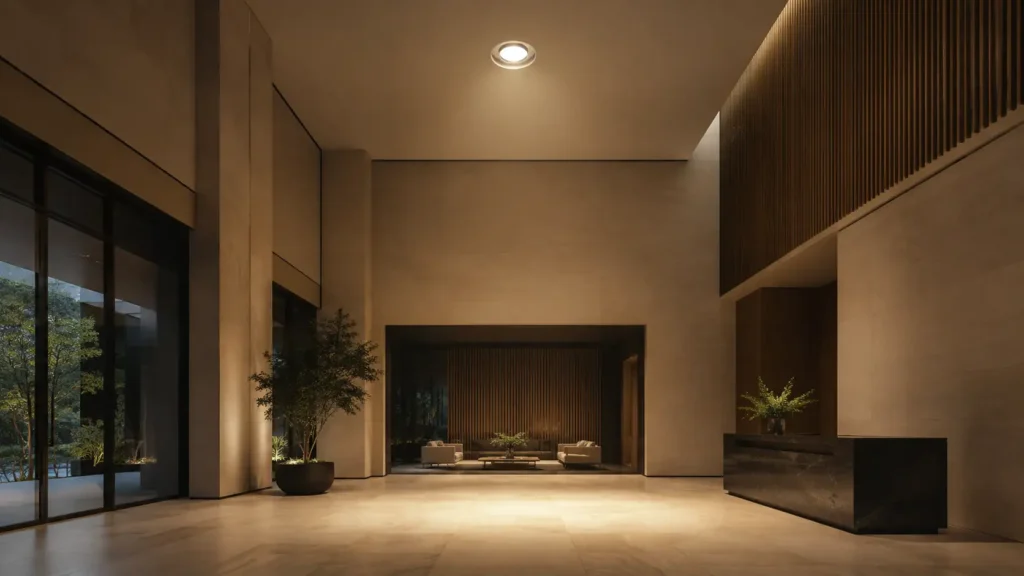
TL;DR: Freeze the hole size first, match the optic to the duty, then set centres from photometry — not from “big looks bright.” A high lumen downlight package still fails if the beam is wrong at height.
When a large head beats more small ones
Tall spaces usually need fewer apertures and wider useful pools at floor level.
Jakiś oversized downlight only means the aperture / optic package is larger — it is not a free brightness upgrade.
It earns the slot when void depth, structure, and glare limits still pass on the listed assembly.
🎯 When should you pick a large downlight over many small ones?
When height and coverage need wide pools and fewer holes — and photometry still hits uniformity without glare blow-ups.
Room cues use the same order
Treat a large downlight for ceiling ambient job (lobby, shop floor) as cut-out → beam → spacing — same order every time.
On a large downlight for kitchen island, prefer a controlled beam on the work plane so cabinetry does not become a glare wall.
A large downlight for bathroom still needs zone-correct IP and fire path; “large” never replaces wet-location rules.
Room labels are duty hints only — the datasheet still wins.
Cut-out: write the hole, not the brochure
Put the large downlight cut-out size on the same drawing sheet as the ceiling module and tolerance.
A large aperture downlight application only works when face size, recess depth, and driver location are locked as one assembly — not a trim photo alone.
| Term on quote | What to verify |
|---|---|
| Cut-out Ø / L×W | Exact hole + tolerance |
| Aperture / trim | Visible opening vs plaster flange |
| Depth / IC / fire | Void and listed assembly |
Vague “≈200 mm” holes are callbacks waiting to happen — demand millimetres.
Beam coverage before you talk spacing
Useful floor coverage decides whether one head can replace three small ones.
A wide beam downlight on an aisle is not the same job as a narrow accent cone on a feature wall.
Trust the isolux for this wattage and optic — not a sister SKU — and check UGR before you open the centres.
Bars for high-ceiling ambient spacing, wide-beam aisle coverage, kitchen/task control, and oversized cut-out caution.
Planning emphasis (relative)
High-ceiling ambient — spacing from isolux
Wide-beam aisle — coverage vs glare
Kitchen / task island — controlled beam
Oversized cut-out — structure / fire check
High-ceiling spacing (practical first pass)
Real high-ceiling downlight spacing comes from mounting height, useful beam width, and uniformity — not a single metre slogan.
It often starts wider than a low residential grid, then tightens if the optic is narrow or finishes are specular.
Worked first-pass example (illustrative — replace with your SKU plot):
- Mounting height to work plane: 4.5 m lobby ambient.
- Isolux shows useful pool diameter ≈ 3.0 m at that plane for the chosen wide optic.
- First-pass centres ≈ 0.55–0.65 × that diameter so pools overlap (here ~1.7–2.0 m) — then check min/avg lux on the drawing.
- If UGR or scalloping fails, tighten centres or change optic before you cut plaster.
Job sequence:
- Lock mounting height and target lux.
- Pull useful beam width at the work plane from the SKU plot.
- Set first-pass centres for your uniformity goal.
- Mock up two or three heads before full cut-outs.
🎯 How do you set high-ceiling downlight spacing?
From the photometric plot at your height — wide beams can open centres; narrow beams need tighter centres or more heads.
Flux note (without rewriting the brightness guide)
High package lumens help at height, but the wattage sticker is still not lux on the floor.
If you need lumens-vs-watts literacy first, use the brightness companion draft (not linked until live) — then return here for aperture and spacing.
Spec checklist before the PO
- Confirm height and duty (ambient aisle vs task island).
- Freeze cut-out / aperture on the drawing with millimetre values.
- Attach optic + UGR evidence for the exact code.
- Write centres from the spacing logic above.
- Match driver location to void depth on the install overview linked in the intro.
- Reject “big looks premium” quotes with no cut-out or polar data.
What to do next
- Freeze recessed vs surface vs adjustable on the installation methods overview (linked in the intro).
- If shape is still unsettled, use the round/square companion linked above.
- Put cut-out, optic, and centres on the RCP before procurement.
- Keep lumen planning and brand/build audits on their own drafts.
- Prefer suppliers that publish cut-out drawings and photometry for large-aperture commercial families — XHLUX can support oversized / large-aperture packs on suitable codes; still verify each file against the shipped model.
Notes & Sources
- Spacing claims must follow the SKU isolux at the project mounting height — the 4.5 m / ~3.0 m / 0.55–0.65× example is a method sketch, not a building-code table; SVG bars are relative emphasis only.
- Live companions: round vs square; installation methods overview.
- Exact Serper PAA for this keyword pool was empty; no FAQ section.