

Why install LED track lights yourself
XHLUX led track lighting is becoming a new favorite for homes, shops, and industrial spaces due to its flexibility and energy-saving features. Whether you are a DIY enthusiast, need to quickly deploy lighting in a commercial space, or even optimize light for industrial sites, this article will provide you with easy-to-follow instructions. Are you ready? Let’s get started!
There are several advantages to installing LED track lights yourself, as follows:
Flexibility and customization: Installing LED track lights yourself allows you to select and adjust the position and angle of the lights according to your personal needs and space layout, providing more flexible and customized lighting effects. For example, you can adjust the direction of the light source according to the needs of exhibits, work areas, or specific places.
Save installation costs: If you have some knowledge of electrical installation, you can save the cost of hiring a professional. Many LED track lights have a relatively simple installation process, and users can complete the installation by reading the product manual and guide.
Adapt to different spaces: The track system of LED track lights is usually expandable and reconfigurable. If you install it yourself, you can adjust and expand the lighting system at any time according to the changes in the space to adapt to different needs.
Easy maintenance and replacement: After installing the LED track lights yourself, when a lamp needs maintenance or replacement, the user can easily remove and replace it without waiting for professionals to come to the door for repair.
Control selection and quality: Self-installation allows you to choose the right lamp according to your budget and needs, without relying on the recommendations of external installation service providers. This can better ensure that you purchase affordable led track lights that meet your needs.
Of course, when installing LED track lights, you need to make sure you have some understanding of electrical installation, follow safe operating specifications, and ensure the stability and safety of the electrical system. If you are not sure whether you can complete the installation, it is recommended to contact our after-sales team or seek help from professionals.

Preparation before installing LED track lights
Before installing LED track lights, you need to measure the space dimensions, plan the track layout, prepare tools (such as electric drills, screws) and ensure the safety of the power lines. Test the function of the lamps in advance to ensure smooth installation and lighting effects as expected.
Before you start, make sure you have the following tools and materials:
Tools: screwdriver, electric drill, tape measure, wire test pen, ladder (if installed at a high place).
Materialen: LED track, lamp head, power cord, connector (some kits already include), expansion screws and junction boxes.
Optional: dimmer (if you want to control the brightness), electrical tape.
Safety first: Be sure to turn off the power before installation and use a test pen to confirm that the line is dead. In addition, check whether your LED track lighting kit is compatible with the voltage at home (usually 220V or 110V). If you are unsure about the voltage or package contents, contact our procurement experts directly and they will help you confirm the materials you need.
Choose the installation type and location
When choosing the installation type (such as single track, multi-track, recessed or surface mount) and location of LED track lights, you need to consider the function of the space, lighting needs and decorative style to ensure flexibility and aesthetics, and enhance the overall lighting effect.
There are three common installation methods for LED track lights, each suitable for different scenarios:
Surface mount: Directly fixed to the ceiling or wall, suitable for most home and industrial spaces, and the easiest to install.
Recessed: The track is hidden in the ceiling, which looks more beautiful and is commonly seen in modern homes or high-end stores.

Suspended: The track is suspended with a suspension wire, suitable for high ceilings or open areas, such as warehouses or attics.
Tips for choosing a location: Think about where you want to illuminate, such as the sofa area in the living room, a display shelf in a store, or a workbench in a factory. Measure the length and mark the start and end of the track with a pencil. Also consider the routing of the power cord, preferably close to the socket or junction box. If the space is complex, it is recommended to contact our after-sales team, who can provide on-site evaluation and layout suggestions.
Complete guide to LED track light installation steps
The installation process is divided into several steps, just follow it:
Measure and mark: Measure the length of the track with a tape measure and mark the installation point on the ceiling with a pencil. You can use a level to ensure that the track is not skewed.
Fix the track: Use an electric drill to drill holes at the marked points, insert expansion screws, and then fix the track with a screwdriver. If it is a hanging type, remember to install the hanging wire and fixings first. Apply force evenly when fixing, and don’t let the track shake.
Connect the power supply: Connect the power cord to the track. Usually the track has a terminal block. Strip the wires according to the instructions, connect the red wire to the positive pole, and the blue wire to the negative pole (see the product label for details). After connecting, install it into the junction box and fix it with screws. If there is a dimmer, connect it at this step. After completion, check it again with a test pen to ensure safety.
Install the lamp head: Slide the LED lamp head into the track. You can hear a “click” sound to indicate that it is stuck. Then adjust the angle of the lamp head so that the light shines on the target area, such as a picture frame or workbench.

Tips: If you want to make the wires more concealed, you can use a wire trough to store them. If the track is unstable after installation, check whether the screws are tightened. Not sure about the wiring steps? Don’t take risks, contact our after-sales team and we will guide you step by step.
LED track light testing and adjustment
After installation, LED track lights need to be tested and adjusted to ensure that the brightness, color temperature and angle of the lamp meet the requirements. By adjusting the track position and the direction of the lamp, the lighting effect can be optimized to meet the personalized needs of different scenes. After the installation is completed, don’t rush to clean up, test it first:
Power-on check: Turn on the power switch to see if all the lamp heads light up. If a lamp does not light up, check whether the lamp head is plugged in tightly or the power connection is loose.
Adjust the angle: Slide or rotate the lamp head to ensure that the light covers the area you want. If a dimmer is installed, try different brightness to find the most comfortable effect.
Common problem handling: The light flickers? It may be that the wiring is loose or there is a problem with the driver. Not bright enough? It may be that the lamp head has low power, you can change it to a high lumen one.
After satisfactory testing, congratulations, the installation is complete! If the effect is not as expected, our after-sales team can help you adjust the plan. Contact us directly for professional support.
Summary of this article
Installing LED track lights is actually not that difficult. As long as you are well prepared and follow clear steps, you can successfully light up the space. After installation, remember to wipe the lamp head regularly to prevent dust from affecting the light; check the wiring every few months to ensure long-term safe use.
Doing it yourself not only saves money, but also allows the lighting to fully meet your needs. You can use it to create a warm atmosphere at home, attract customers in stores, and improve efficiency in factories. Whether you are a novice or an old hand, this process can bring fun.
Want to try to install it yourself, but you still lack tools or accessories? Or do you need a larger-scale commercial or shop lighting solution? Don’t hesitate, contact our sales manager now! Send an email to [email protected] to contact us, or pay attention to the xhlux official website for more details. We will provide full help from purchase to installation, so that your lighting project is worry-free and perfect!


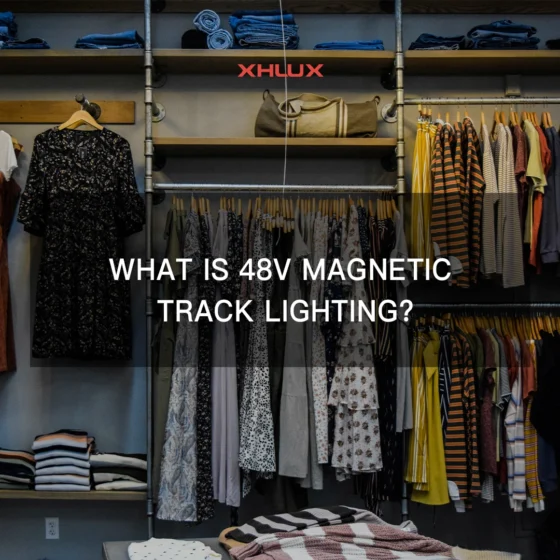
What is 48V Magnetic Track Lighting?
A low-voltage system where fixtures attach magnetically, reposition in seconds, and operate safely below the SELV threshold. Here is what that means for commercial projects.

What Makes a Reliable Commercial Lighting Project Partner
Learn what makes a reliable commercial lighting project partner and which factors matter most when working on long-term lighting projects.
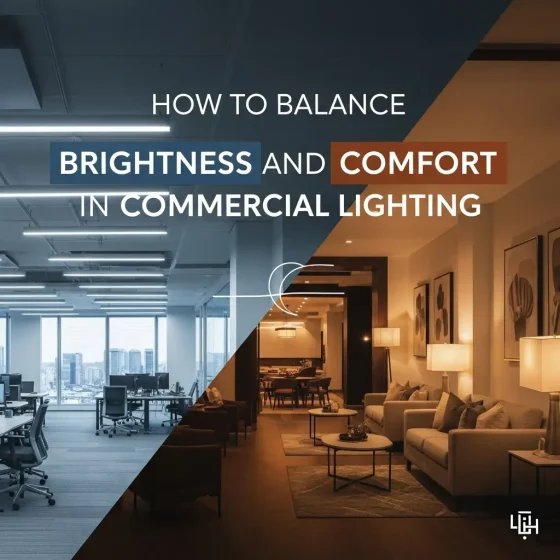
How to Balance Brightness and Comfort in Commercial Lighting
This article explains how to balance brightness and visual comfort in commercial lighting to achieve both functional and comfortable environments.