XHLUX
XHLUX

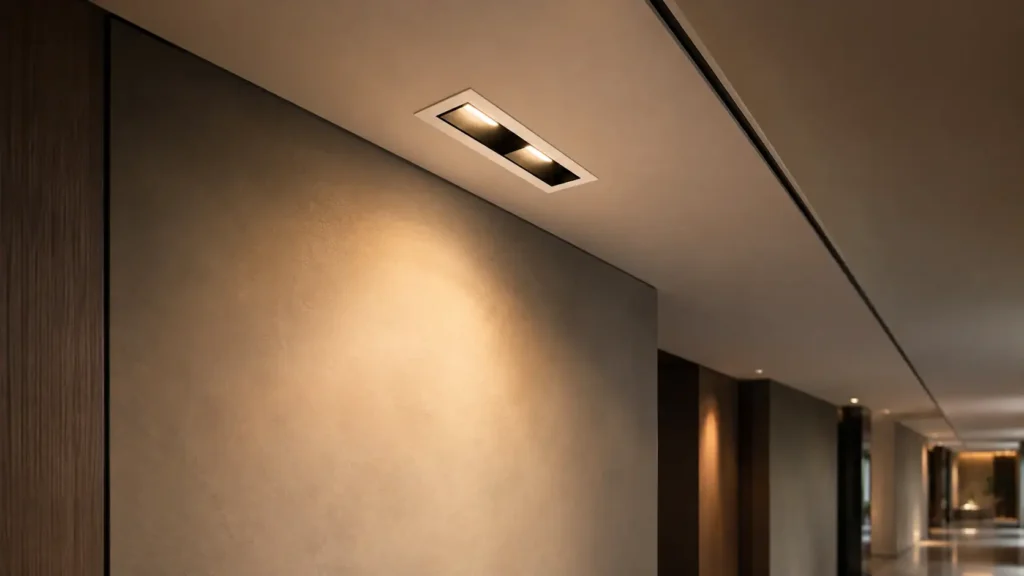
A rectangle downlight earns its keep on long, directional ceilings — corridors, islands, aisle axes — where a round grid would look random and leave dark bands between centres.
Use this page when you already chose a rectangular aperture and need rectangular downlight spacing, sizing, and beam layout.
Skip it if you are still deciding round vs square as a binary shape fork — that comparison is already live:
→ Round vs Square Downlights: Does Shape Change Performance?
If recessed vs surface vs adjustable is still open, start here:
→ LED Downlight Installation Methods: Recessed vs Surface Mount vs Adjustable
TL;DR: Set centre-to-centre from beam width and target lux uniformity — not from a single “rule of thumb” metre count. Match rectangular downlight aperture و linear-style recessed trim to the ceiling module, then prove rectangular downlight beam distribution on a short mock-up run.
When a rectangle beats a round grid on linear runs
Long ceilings read as a path. Rectangular openings follow that path with fewer odd gaps than a scattered round matrix.
Retail aisles, hotel corridors, and desk runs are the usual wins.
A square trim is still a different decision — square ≠ rectangle; do not treat them as the same cut-out family.
🎯 When should you specify a rectangle downlight?
When the ceiling geometry is a long axis and you need even light along that axis — not a square-room grid of rounds.
Start with aperture and trim (before spacing maths)
rectangular downlight aperture is the visible opening and the cut-out family you must coordinate with plasterboard or tile modules.
Measure length × width on the datasheet — and confirm which dimension runs parallel to the corridor axis.
linear-style recessed trim (or a trimless linear look) only helps if the flange and cut-out tolerances match the ceiling system you actually have.
Misaligned apertures look worse on a straight run than a slightly uneven round grid — the eye follows the line.
| يفحص | Pass | Fail |
|---|---|---|
| Aperture orientation | Long side // to travel path | Random rotation every head |
| Trim / cut-out | Matches ceiling module + tolerance | “Close enough” holes |
| Family lock | Same optic family along the run | Mixed beams on one axis |
How far apart? Read spacing from the beam
rectangular downlight spacing is centre-to-centre distance along the run (and, if you use a double row, across the run).
There is no universal “every 1.2 m” answer that survives every lumen package and beam.
Use the manufacturer’s polar / isolux for the exact optic — then set spacing so adjacent pools overlap enough for your uniformity target.
Bars showing tighter spacing for even corridor ambient versus wider spacing for accent-led linear runs.
Spacing tightness (relative — not a metre rule)
Even corridor ambient — tighter centres
General linear ambient — medium centres
Accent / feature axis — wider centres
Wide flood optic — verify scallop risk
Practical sequence:
- Lock mounting height and target lux on the floor or work plane.
- Pull beam angle / useful width from the photometry for that SKU.
- Set first-pass centres so pools overlap (often near 0.5–0.7× useful beam width at floor — verify on the plot, do not treat as a code).
- Walk a mock-up of three heads; adjust before the full run is cut.
🎯 How far apart should rectangle downlights be?
As far as the optic still meets uniformity — tighter for corridors, wider for accent axes; prove it on the photometric plot.
Beam distribution along the line
rectangular downlight beam distribution decides whether the run feels continuous or scalloped.
A narrow beam on a long corridor needs tighter centres or a second row — a wide flood can look washed if you pack heads too close.
Keep CCT, CRI, and dimming curve identical along the axis so spacing errors are not confused with colour steps.
If the brief is wall emphasis rather than floor evenness, you may need a wall-wash family instead of a general rectangle downlight — that is a different optic path.
Sizing the head to the ceiling module
Longer apertures suit longer modules; stubby rectangles on a tall corridor can look like misplaced squares.
Confirm void depth and driver location before you commit to a slim linear look that needs remote gear.
Cut-out length must leave structure and fire strategy intact — recessed penetration still follows the install overview linked in the intro.
Layout checklist (linear ceiling)
- Confirm the job is a linear axis, not a square-room grid (else revisit the round/square guide linked above).
- Lock aperture orientation and trim family.
- Derive centres from beam width + uniformity — write the number on the drawing.
- Mock up three heads at night if the finish is critical.
- Keep one optic/driver family for the whole run.
- Record spare-head and RMA path before volume cut-outs.
What to do next
- Freeze recessed vs surface vs adjustable on the installation methods overview (linked in the intro).
- If shape is still round vs square, use the live companion linked above — then return here for rectangle spacing only.
- Put centre-to-centre and aperture orientation on the RCP before procurement.
- Reject quotes that cannot supply photometry for the exact rectangular SKU.
- Prefer suppliers that can lock optic family and cut-out drawings across a long run — XHLUX can support commercial rectangle/linear aperture families with photometry packs on suitable codes; still verify each file against the shipped model.
Notes & Sources
- Spacing guidance here is photometric practice (overlap for uniformity), not a building-code metre table — always use the SKU isolux.
- Live companions: round vs square shape fork; installation methods overview.
- Exact Serper PAA for this keyword pool was empty; no FAQ section.