XHLUX
XHLUX
The spec table says line LED light. The drawing note says linear LED. You are not sure whether they are the same product family—or whether either one can become the continuous ceiling or wall run the client sketched.
That confusion is common. Suppliers reuse “linear” for pendants, profiles, panels and continuous bars. This page is for the continuous-run bar use case.
For the wider suspend / surface / recess map, start with كيفية اختيار إضاءة LED الخطية: معلقة، سطحية، أم غائرة؟. If you already know you need a continuous run but are weighing one long shipment versus joined modules, read One Module or Many? A Long Linear Light Fixture Guide for Extended Runs first—then return here for layout, joiner placement, beam and mount choices.
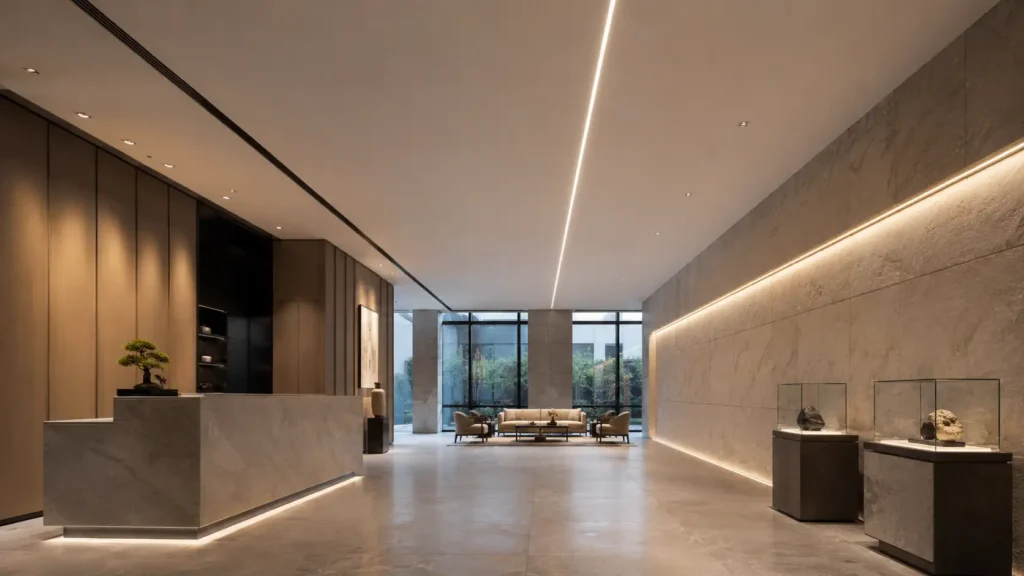
باختصار شديد: Line LED light is the continuous-bar form factor for ceiling or wall runs. Before you specify it, set the layout axis, decide where joiners belong, match beam distribution to the surface job, and pick mounting options that fit the build—not every “linear” SKU on the schedule.
جدول المحتويات
- 📐 1. Plan the Layout Axis for a Continuous Run
- 🔗 2. Decide Where You Need Fixture Joiners
- 💡 3. Understand the Beam Distribution You’re Buying
- 🛠️ 4. Match Mounting Options to the Surface
- ✅ Four planning checks at a glance
- ما الخطوة التالية؟
- 🏁 Conclusion
- التعليمات
📐 1. Plan the Layout Axis for a Continuous Run
Continuous line lighting layout starts with the axis the luminous line should follow—not the ceiling grid by default.
On the drawing, mark:
- Ceiling centreline عكس room centreline (they are not always the same)
- Wall runs that turn corners or wrap a bulkhead
- Architectural cues the client wants lit—soffit lip, cove, feature wall—versus a arbitrary straight line
- Break points where the run should stop (door head, column, change of plane)
A continuous run reads wrong when the bar follows structure that the furniture or feature line ignores. Set the axis on the RCP or elevation before you talk module length.
🎯 Should the layout axis always follow the ceiling grid?
No. Follow the sightline or architectural line the run is meant to highlight.
🔗 2. Decide Where You Need Fixture Joiners
Line LED fixture joiners appear when one shipped length cannot cover the axis—or when access forces a break.
Use joiners when:
- The run exceeds the maker’s single-module span for your mount tier
- Corners or plane changes need a mechanical joint in the family
- Site access requires shorter pieces through tight doors or lifts
- Feed or driver zoning splits the run at a logical electrical break
Skip joiners when a single module covers the axis and the maker allows end-to-end power for that length. This section only decides whether and where to join—not how to hide dark seams or match optic continuity. For that optical work, use Stop Dark Seams Before You Join LED Linear Fixtures.
🎯 Does every long ceiling run need a joiner?
No. Short axes and stock lengths that fit span and access can stay one piece.
💡 3. Understand the Beam Distribution You’re Buying
Line light beam distribution is the “Explained” heart of the product: what the bar actually throws along the run.
Ask the cut sheet:
- Is the optic wide and flat for ceiling ambient—or asymmetric for wall wash?
- Does the bar direct only downward, or include uplight / indirect bounce?
- Will a شعاع ضيق leave hot stripes on a low ceiling, or suit a high corridor?
- Does the wall-run need grazing versus even vertical wash?
Line LED bars often look similar in section but behave differently on ceiling versus wall. Name the target surface and the visual job—uniform wash, accent line, or task strip—before you copy a catalogue beam diagram from another project.
🎯 Is a narrow beam always wrong for a ceiling run?
Not in tall volumes—but on low ceilings it can read as a bright stripe instead of even light.
🛠️ 4. Match Mounting Options to the Surface
Line LED mounting options map the same luminous line to different builds—this section picks the family, not step-by-step install.
| سطح | Typical mount paths | Watch for |
|---|---|---|
| سقف | Recess slot, surface channel, suspended stem/cable | Plenum depth, access panel, MEP clash |
| Wall | Surface channel, shallow recess, cove integration | Substrate, paint schedule, joint alignment at corners |
Choose recess when the plane can accept a slot and maintenance access exists. Choose surface when the ceiling is closed or depth is tight. Choose suspension when the line must float in volume—not every line LED family offers all three; match the mount list to the actual ceiling or wall build.
This page does not replace pre-install checklists for profile recess (#454) or no-recess surface families (#458)—it only routes you to the right mount class.
🎯 Can surface mount work on a wall that will be repainted later?
Only if the channel and joint detail survive the paint cycle you expect—check with the maker before you set the mount class.
✅ Four planning checks at a glance
| يفحص | Ceiling run | Wall run |
|---|---|---|
| Continuous line lighting layout | Axis vs grid; breaks at bulkheads and columns | Follow feature line; plan corner breaks |
| Line LED fixture joiners | Mid-run joins for span/access; skip if one module fits | Corner joins common; note feed at breaks |
| Line light beam distribution | Wide/downlight for ambient; watch low-ceiling stripes | Asymmetric / graze for feature walls |
| Line LED mounting options | Recess / surface / suspend by plenum and access | Surface or shallow recess; paint and joint detail |
No universal spacing millimetres appear here. Module length, join spacing and optic throw vary by family—use maker data and mock-ups rather than a single “every X mm” rule on this page.
ما الخطوة التالية؟
If the run length and module count are still open:
Use the extended-run module guide linked in the intro before you set join count.
If joiner locations are set but seam or optic continuity is the worry:
Move to the dark-seam join checklist linked in §2.
If layout, beam and mount are settled and you are ready to order:
Run the suspension and hardware pre-order sheet: Linear LED Suspension: What to Check Before You Order when the mount is suspended; for surface or recess families, carry the same discipline on feeds, joiners and end caps on the PO.
If you want a second pass on whether your ceiling or wall axis suits a line LED family, XHLUX can review the schedule against the run you are planning.
🏁 Conclusion: What is line LED light on a continuous run?
Back at the spec table, you now have a working split: line LED names the continuous bar for one axis on a ceiling or wall; generic linear LED may mean something broader. Plan the axis, joiners, beam and mount on the drawing before you treat every line item as interchangeable.
Explore our related blog posts:
- ما يجب فحصه قبل تركيب مصباح ذي شكل خطي في السقف
- Surface-Mounted Linear Lights for Ceilings Without Recessing
- ما هو مصباح LED الخطي وكيف يتم تركيبه؟
ملاحظات ومصادر
- Beam distribution and install spacing for line LED families vary by catalogue and ceiling height. This draft does not invent universal spacing or throw-distance millimetres. Use maker photometric files and site mock-ups for final optic choice.
- Joiner optical continuity and dark-seam prevention stay on #467; module count and span economics stay on #473; profile recess install checks stay on #454; no-recess surface detail stays on #458.
- Structural, electrical and fire rules still apply. Check authority requirements and maker installation notes before installation.